



Written by Rick Kovac, COO of Golden Lighting
The takeaway: Choose between flush mount and recessed lighting by inspecting the ceiling first — height, cavity depth, insulation, and access decide what will work before style ever enters the conversation.
Key takeaways:
- Flush mounts attach to the ceiling surface and usually reuse an existing box, which makes them the simpler choice for finished ceilings, retrofits, and standard 8–9 ft rooms.
- Recessed fixtures sit inside the ceiling cavity, so where insulation will touch the housing it must be rated Type IC; non-IC housings need insulation kept at least 3 inches away from the enclosure and driver.
- Recessed lighting makes the most sense when the ceiling is already open and the room needs directional task or accent light.
- The best rooms use both: a visible fixture for character and ambient light, with recessed sources assigned to specific tasks.
A dark kitchen, a cramped entryway, or a bedroom that never feels calm often has the same underlying problem: the ceiling fixture was chosen before the ceiling itself was understood. The choice between flush mount vs recessed lighting affects headroom, wiring, insulation safety, labor, light distribution, and the visual character of the room.
A fixture can look perfect in a showroom and still be the wrong specification for an older ceiling, a shallow joist cavity, or an insulated retrofit. The practical decision starts with infrastructure, then moves to performance and style.
| Factor | Flush-mounted lighting | Recessed lighting |
|---|---|---|
| Installation position | Attaches directly to the ceiling surface | Sits inside a ceiling opening |
| Best starting point | Retrofit projects, standard-height ceilings, decorative interiors | New construction, layered layouts, directional illumination |
| Ceiling modification | Minimal | Requires openings, wiring access, and cavity verification |
| Design presence | Visible fixture that contributes to the room's style | Subtle trim and light source with a quieter ceiling |
| Insulation concern | No housing inside the insulated cavity | Requires an IC-rated housing, or code clearances for non-IC housings |
| Typical performance | Broad ambient illumination | Directional, layered, or accent illumination |
| Cost pattern | Usually lower labor complexity | Higher retrofit labor complexity, especially with multiple fixtures |
The Ceiling Reality Check
A renovation often reaches a revealing moment after the paint color has been chosen and the furniture plan is complete. The electrician opens the ceiling, finds shallow framing and insulation, and suddenly the planned grid of recessed lights no longer fits without additional work. A surface-mounted fixture may have been the more appropriate decision from the beginning.
We see this pattern often. The flush mount vs recessed decision is rarely a simple question of modern style versus traditional style. It's a question of whether the ceiling can accept the fixture without compromising structure, thermal safety, access, or the project budget.
The ceiling determines the shortlist
Before selecting a finish, establish:
- Ceiling height: A fixture that drops below the ceiling can feel intrusive where headroom is limited.
- Joist depth and direction: Recessed housings need enough cavity space and a workable path for wiring.
- Existing drywall condition: Cutting several openings creates patching, painting, and texture-matching work.
- Insulation placement: The fixture must be rated and installed correctly where insulation may touch the housing.
- Electrical access: A replacement surface fixture can usually use the existing ceiling box, while a recessed layout requires wiring between multiple locations.
A low-profile flush mount keeps the hardware visible but avoids creating a series of ceiling cavities. A recessed layout creates a cleaner plane, but that clean appearance comes from work above the ceiling, where access can be difficult and expensive.
Professional rule: Inspect the ceiling cavity before approving a decorative specification. Finish selection comes after feasibility, not before it.
For a fuller explanation of the surface-mounted format, see what flush mount lighting means. The essential distinction is simple: a flush mount attaches to the ceiling surface, while a recessed fixture is built into it.
That distinction matters most in older homes and occupied renovations. If the existing ceiling has limited access, fragile plaster, unusual framing, or concealed services, a flush mount protects the project from unnecessary disruption. Recessed lighting remains a strong choice when the ceiling is being opened anyway, the cavity is suitable, and the layout needs precise directional control.
Two Different Design Languages
Flush mounts contribute visibly to the room. A domed glass shade can support a period interior, a drum shade gives a transitional room structure, and a low-profile metal fixture reinforces a contemporary scheme. Recessed lighting removes that decorative object, leaving the ceiling, architecture, and furnishings to carry the visual emphasis.
The choice is not only visible versus invisible. A small recessed fixture can keep a ceiling clean and provide adjustable light, provided the ceiling can accept the housing. A well-scaled flush mount adds character with less construction, though its light distribution is broader and less directional.
Renovation economics keep surface-mounted fixtures relevant: they replace or build from an existing ceiling position without turning a decorative update into a ceiling project. Recessed lighting earns its place when the design calls for a continuous ceiling plane, focused illumination, or a low-visibility source. Surface mounts and recessed fixtures can work together in one home, each assigned to the rooms and conditions it handles best.
Navigating Ceiling Heights and Insulation Codes
Flush and semi-flush mounts exist because many ceilings are low. Our design team's standing guidance is to use them under standard 8–9 ft ceilings, where a hanging fixture would crowd headroom. In double-height or vaulted rooms, a ceiling-hugging fixture tends to read lost — those spaces usually call for a chandelier or pendant instead. For wider low-ceiling rooms, a wide semi-flush with several lamps is often the right primary fixture, because it delivers real light without dropping into the 7-ft walking clearance that hanging fixtures must respect.
A recessed fixture preserves an uninterrupted ceiling line, but installation still depends on the space above the drywall. A ceiling that looks suitable may have shallow framing, ductwork, electrical services, or insulation exactly where a housing needs to go.
Height is only the first check
- Standard 8–9 ft ceilings: Flush and semi-flush mounts protect headroom and add a decorative element without a hanging drop.
- Taller ceilings: Recessed fixtures can create ambient layers or directional accents, while a hanging fixture usually carries the room's scale better than a flush mount.
- Vaulted ceilings: The slope, framing, and junction-box location affect whether a surface fixture sits correctly or whether a recessed housing can be installed at all — check the fixture's sloped-ceiling compatibility before ordering.
Insulation contact is a specification, not a preference
Under the International Residential Code (Section E4004.8), a recessed luminaire identified for insulation contact — Type IC — may be in contact with combustible materials at its recessed parts, support points, and trim. A recessed luminaire not identified for insulation contact must keep all recessed parts at least ½ inch from combustible materials, and thermal insulation may not be installed above it or within 3 inches of its enclosure, wiring compartment, LED driver, or power supply (Section E4004.9), as summarized in the U.S. Department of Energy's Building America recessed-lighting code brief. That clearance is hard to maintain in a finished ceiling, especially where insulation has been added during an energy retrofit.
The same brief notes that energy codes call for recessed luminaires in the building envelope to be IC-rated and labeled airtight, and sealed with a gasket or caulk at the ceiling. Older non-airtight cans are a poor starting point for a renovation; replacing them with IC-rated, airtight housings lets insulation sit safely over the fixture, as described in this PNNL recessed-light retrofit brief.
The safe decision is clear. If insulation will touch the housing, the fixture must be listed and labeled for it. If the cavity can't accommodate the required housing or clearance, a surface-mounted fixture avoids the problem entirely. Local code governs, so confirm requirements with a licensed electrician.
Installation Complexity and True Project Costs
Replacing one ceiling light in a finished room is a very different job from planning recessed lighting across a new ceiling. A flush mount usually connects to one existing electrical box, so the ceiling surface stays intact. The installer still needs to check the box, grounding, wire condition, mounting hardware, and fixture weight — a ceiling box must be rated for the fixture it carries.
Recessed lighting adds several points where labor and risk increase. The installer must mark each opening, check framing and concealed services, cut the ceiling, run wiring between locations, support the housings, confirm insulation and housing requirements, make the connections, and repair the finished surface.
Installation cost and labor comparison
| Factor | Surface-Mounted | Recessed |
|---|---|---|
| Basic mounting | Attaches to a ceiling box | Requires cutouts and housing support |
| Wiring | Usually connects at an existing box | Requires wiring between several fixture locations |
| Drywall impact | Usually minimal or none | Openings may need patching and repainting |
| Retrofit labor | Usually lower when an existing box is usable | Usually higher because of access, cutting, wiring, and finish repair |
| New-construction labor | Straightforward box and fixture installation | Lower disruption while framing is exposed, but layout and housing selection still drive the work |
| Main budget risk | Box condition or unexpected wiring repairs | Access, patching, multiple fixtures, cavity conflicts, and compliance requirements |
These are project-cost patterns rather than fixed prices. Ceiling access, the number of locations, wiring distance, surface repairs, and the condition of existing wiring often decide the final labor bill more than the fixture's price. A low-cost recessed fixture can still produce an expensive installation if the ceiling is finished and access is limited.
A job-site sequence that prevents rework
- Inspect the ceiling first. Record access above the ceiling, joist direction, insulation, and concealed services before cutting.
- Mark the layout at full scale. Use tape or pencil marks to check alignment with cabinets, furniture, beams, and walkways. Keep recessed layouts to a simple, deliberate pattern aligned with the architecture. Moving a mark costs far less than moving a fixture.
- Confirm the housing. The specification should state IC status, airtight construction where required, trim type, driver location, and dimmer compatibility.
- Plan the finish repair. Every cut ceiling needs a patching and paint plan. Don't assume trim will hide an uneven opening.
- Complete the electrical connections correctly. The grounding path matters; see our guide to ground-wire connections for the details.
Light Output and Room-by-Room Performance
The visual difference between the two comes from distribution. A flush mount spreads light from a central point across the room as a broad ambient wash. Recessed fixtures push light downward and can be arranged in zones, which makes them useful for task surfaces, walkways, artwork, and architectural features.
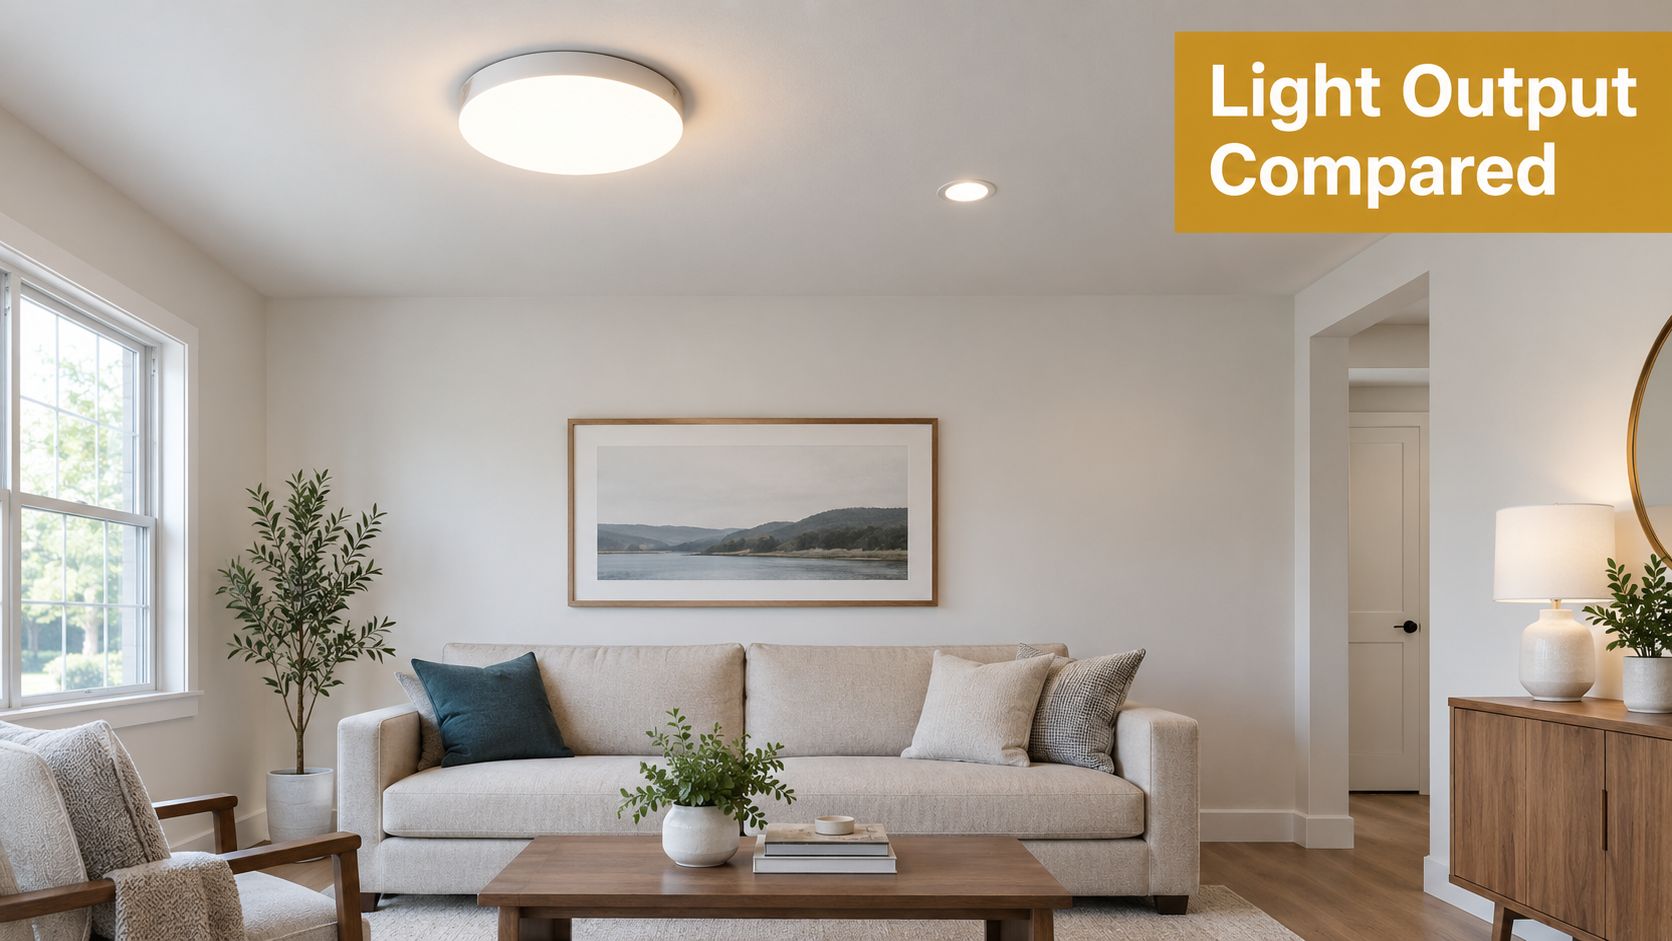
Match the fixture to the room's work
Kitchens show the distinction clearly. Recessed fixtures can aim light toward counters and work zones, while a surface fixture supplies general light and a decorative finish. Neither replaces task lighting at the counter — downlights placed directly over or behind someone working cast their own shadow onto the task, so under-cabinet light or island pendants are still needed.
Hallways are pass-through spaces that need modest light. The standard approach is to light the walls and art between doors rather than pool light on the floor; a flush mount works as the decorative element, and long halls usually need a series of evenly spaced fixtures rather than one.
Bedrooms call for restraint. A diffused flush mount with an enclosed bottom provides comfortable general light — avoid open-bottom fixtures here, because anyone lying in bed looks straight up into the bare source. Recessed fixtures can keep the ceiling clean when paired with bedside lamps or sconces.
Design observation: A room rarely feels balanced because every source produces the same light. It feels balanced when ambient, task, and accent sources each have a different job.
Living rooms benefit from layers rather than a single answer. Recessed fixtures establish coverage or wash an architectural wall, while a decorative flush mount, semi-flush, chandelier, or pendant gives the room its focal point. Adjustable trims can refine that strategy — our guide to eyeball recessed lighting covers when aiming flexibility helps.
Efficiency and control
Whichever you choose, specify LED. LEDs use approximately 75% less energy than incandescent bulbs for the same light output, according to the DOE Building America high-efficiency lighting guide.
Control matters as much as fixture type. Dimming lets a kitchen shift from work light to evening ambience, and separate zones keep every source from running at full output when only one area is in use. Put each lighting layer on its own control, and use a dimmer the fixture manufacturer lists as compatible.
Select a flush mount for the quality and spread of its diffuser, not merely its shallow profile. Evaluate a recessed fixture for trim glare, beam direction, driver access, and dimmer compatibility — a well-designed downlight reads as a dark-to-dim opening from normal viewing angles, not a glowing white disk.
Styling Your Space with Golden Lighting Collections
A low-ceiling entry can feel cramped when a pendant drops into the walking path, yet a bare recessed grid can leave the same space cold. A decorative flush mount solves the clearance problem while giving the ceiling a deliberate focal point. In a period home, a domed shade respects existing details. In a transitional room, a drum-style surface mount connects the ceiling to upholstered furniture and window treatments.
Finish and form should follow the room
Coordination works better than uniformity. A surface-mounted fixture in the entry can lead into recessed accents in the adjoining living area, with a repeated finish on sconces, cabinet hardware, or a dining fixture.
- Classic interiors: Domed flush mounts and softly diffused glass suit rooms with established architectural details.
- Transitional spaces: Drum-style surface mounts create a structured profile without a period-specific look.
- Minimalist rooms: Small recessed trims keep attention on planes, materials, and furniture.
- Open plans: Larger shades or a stronger central fixture hold visual scale where a small recessed grid would disappear.
- Mixed-use spaces: Ambient ceiling light works alongside pendants, sconces, or task fixtures.
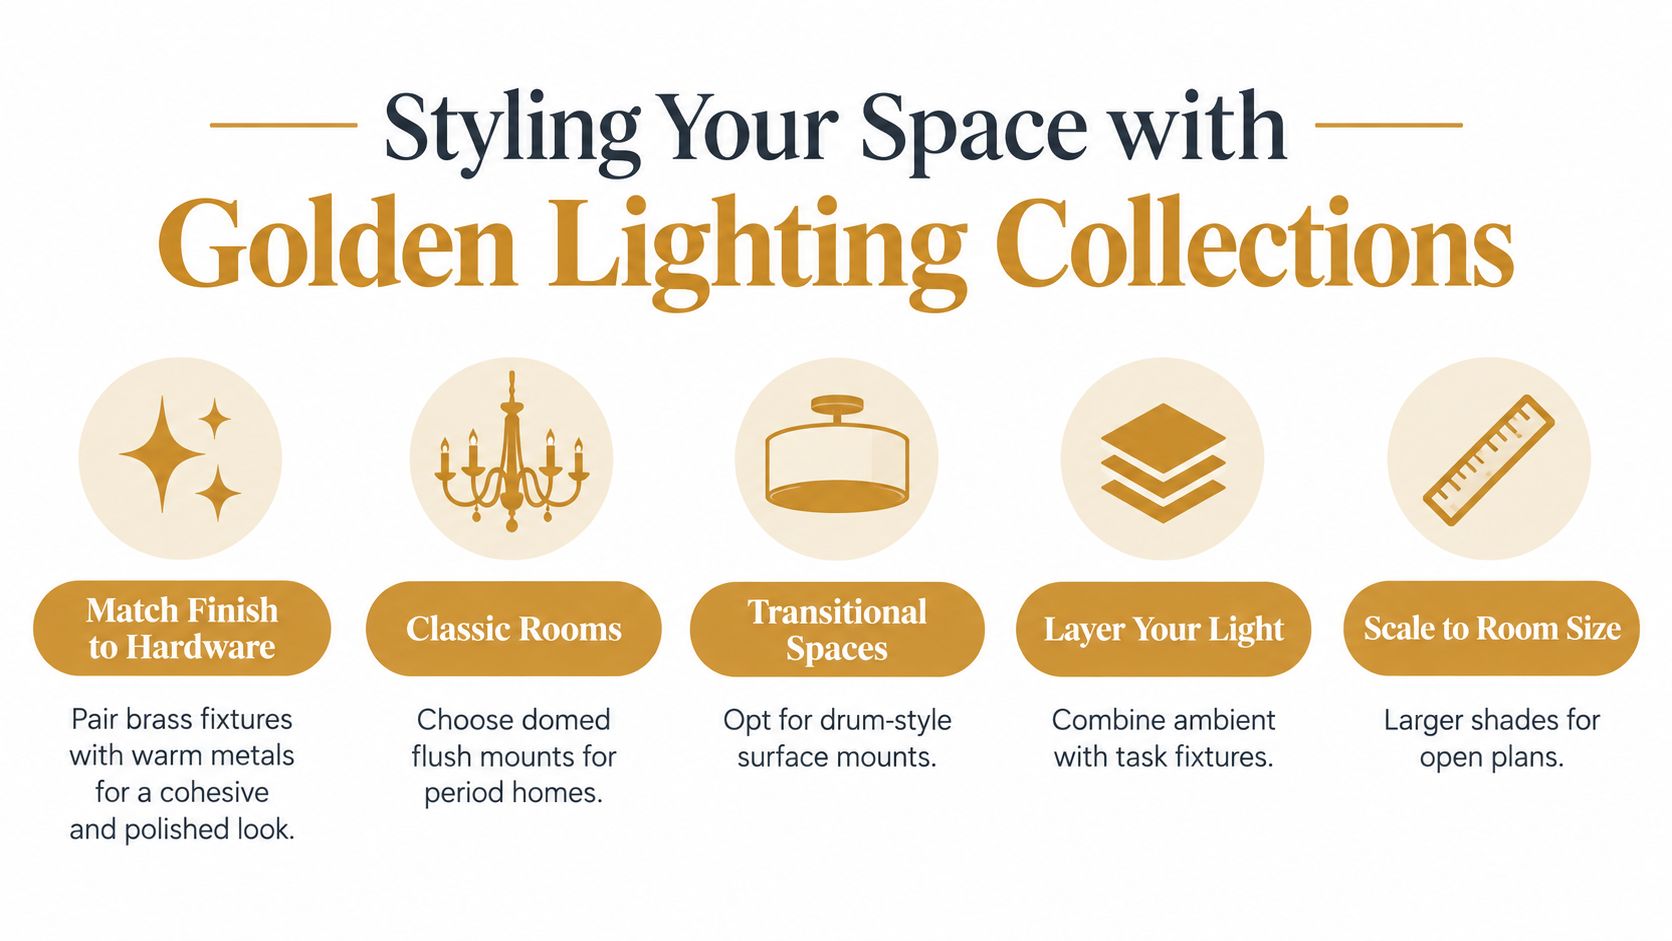
For homeowners who want to personalize, YEP by Golden lets you mix shades, finishes, and glass across fixture types, so the finish language stays coordinated without every room looking identical. Wide semi-flush mounts are also one of the strengths of our semi-flush collection — a good fit for the low-ceiling rooms common in older homes.
Avoid choosing recessed fixtures just because they disappear. A clean ceiling can still feel flat when every source has the same role and direction. A visible surface fixture can provide the focal point, while recessed or adjustable sources handle supporting light around it.
Pro-Tip: In a room that needs personality, choose the visible fixture first, then add recessed or task lighting only where the architecture or activity needs directional control. That sequence keeps the ceiling grid from becoming the entire design.
Making Your Final Lighting Decision
- What is the ceiling height? Under standard 8–9 ft ceilings, a flush or semi-flush mount protects headroom and avoids an intrusive drop.
- Is it a retrofit or a new build? Finished ceilings favor surface installation unless the renovation already includes ceiling access and repair.
- What will the room ask the light to do? General illumination suits a broad surface fixture. Task, accent, and zoned light often benefit from directional recessed sources.
- What is above the ceiling? Confirm insulation, framing, ductwork, wiring, and cavity depth before selecting a recessed housing.
Follow the strongest constraint. If access is poor, insulation contact is unresolved, or the cavity is too shallow, a flush mount is the responsible specification. If the ceiling is open, the housing can be installed to code, and the room needs layered direction, recessed lighting earns its extra complexity. The most successful plans don't treat the two as rivals — they give each a clear job.
Start with the ceiling inspection, document the existing electrical and insulation conditions, then compare fixture proportions against the room's furniture plan. Browse our ceiling fixtures or find a Golden Lighting retailer to see finishes and scale in person.
— seen a lot of light fixtures in 80+ countries. Still learning what actually works in a home.











Share:
Gold Bathroom Vanity Lights: Sizing and Styling