



Written by Rick Kovac, COO of Golden Lighting
The takeaway: A sconce retrofit lives or dies at the junction box, not the wiring — confirm it's secure, properly rated for the fixture's weight, and correctly positioned before you touch a wire, then work the install as a deliberate sequence rather than a fixture swap.
Key takeaways:
- Start with the wall, not the fixture: confirm the existing junction box is accessible, securely mounted, grounded, and listed to support the sconce before removing anything.
- Under NEC 314.27, a box used as the sole support for a luminaire has to be listed to support at least 50 pounds — anything heavier needs support independent of the box itself.
- Mounting height depends on the fixture's job: side-of-mirror sconces install in pairs around 60 inches AFF, general decorative sconces run 60–72 inches, and bathroom/shower fixtures follow their own wet-location clearance rules (NEC 410.10).
- When the wall can't take new wiring — a rental, plaster without a box, a finished surface that shouldn't be opened — a UL-listed plug-in or battery sconce gets the same look without opening the wall.
A dark hallway, a cramped entryway, or a bathroom mirror that leaves faces in shadow usually doesn't need a bigger ceiling fixture. It needs light brought closer to the wall and nearer to eye level. A well-placed sconce can add useful illumination, improve the room's proportions, and create a more finished look without taking up floor or countertop space.
The difficult part isn't usually connecting three wires. It's deciding whether the existing junction box can support the fixture, whether the wall cavity can accommodate the wiring, and whether the finished installation will sit straight and flush. This guide gives Golden Lighting's practical approach to how to install a sconce light fixture, from retrofit planning through final troubleshooting, with clear boundaries for when a licensed electrician should take over.
Why Your Walls Need Better Lighting and What This Guide Solves
A hallway with overhead light can leave faces flat and walls visually empty. In a powder room, light from above may cast shadows under the eyes and make the mirror uncomfortable for daily grooming. A wall sconce brings illumination closer to eye level, improving both visibility and the room's balance.
Start with the wall condition, not the fixture. Before removing a cover plate or opening drywall, inspect the existing junction box. Confirm that it is accessible, securely mounted, properly grounded, and listed to support the specific luminaire. A decorative backplate can cover a standard round or octagonal box, but it cannot correct a damaged, shallow, loose, or overloaded one. Electrical box and splice guidance for wall sconces reinforces the requirement that splices remain inside the listed outlet box.
Practical rule: Treat the junction box as part of the lighting design. If it cannot support the fixture, stop before installation.
A suitable existing box makes replacement relatively quick, while a new box, difficult plaster, crowded conductors, or a new circuit can extend the work considerably. DIY sconce installation guidance covers the basic installation process and the conditions that affect the job. The project fits a confident DIYer who understands electrical safety and can work patiently. If you are unsure about the panel, wiring type, or box support, consult an electrician before opening the wall.
For rooms without a ceiling fixture, Golden Lighting's guide to lighting a room with no overhead light explains how wall, portable, and other light sources can work together.
Tools and Materials You Need Before You Start
Gather every tool before switching off the breaker. A stalled installation often leads to rushed decisions, improvised connectors, or a fixture left hanging while someone searches for a missing screw.
The essential tool kit
- Non-contact voltage tester: This is the safety tool that shouldn't be skipped. It verifies whether conductors are energized before they're touched, even when the wall switch appears to be off.
- Screwdriver set: A 4-in-1 screwdriver or separate Phillips and flathead drivers handles mounting screws, terminal screws, and canopy hardware.
- Wire strippers: Use the strip length specified by the connector or fixture instructions. Over-stripping exposes unnecessary copper inside the box.
- Needle-nose pliers: These help form conductor ends, hold small hardware, and position wires without damaging insulation.
- Drill and bits: Match the bit to the supplied bracket, anchor, or remodel-box hardware. Drilling without checking what's behind the wall is careless.
- Torpedo level: A short level keeps the mounting strap and canopy straight, especially on narrow vertical sconces.
- Painter's tape: Mark the fixture outline and screw locations without putting pencil marks directly on delicate paint or wallpaper.
- Stud finder: Confirm the wall cavity before drilling for a new box or anchor. It also helps identify whether a stud can provide direct support.
- Flashlight or headlamp: Junction boxes are often dark, crowded, and difficult to inspect from an angle.
- Small hardware tray: Screws disappear quickly into carpet. A tray keeps the installation controlled.
Materials that prevent weak installations
The fixture should include a mounting bracket, crossbar, or strap. Keep that hardware with the sconce until the box and wall condition are confirmed. If no suitable box exists, an old-work remodel box may be appropriate, provided it's approved for the fixture and can be secured flush with the finished wall.
Use listed wire connectors rated for the conductor size in the wall. Common options include Wago 221 lever connectors or red or yellow Ideal wire nuts, but the connector must match the wiring and manufacturer requirements. A ground pigtail may be needed when the fixture doesn't provide a suitable grounding lead.
Replacement screws and anchors should match the bracket and wall material. Decorative fixtures can be heavier than they appear, so an anchor intended only for lightweight pictures isn't an acceptable substitute for a listed fixture-support box. Under NEC 314.27, an outlet box used as the sole support for a luminaire has to be listed for that purpose and capable of supporting at least 50 pounds; a heavier sconce needs support that's independent of the box itself, not just a bigger box.
Mounting and Wiring the Sconce Safely
A sconce retrofit fails most often at the wall, not the wire. Before disconnecting anything, confirm that the existing junction box is secure, flush, listed for fixture support, and rated for the new fixture's weight — a sturdy-looking canopy cannot compensate for a loose or undersized box. Work through the installation in order:
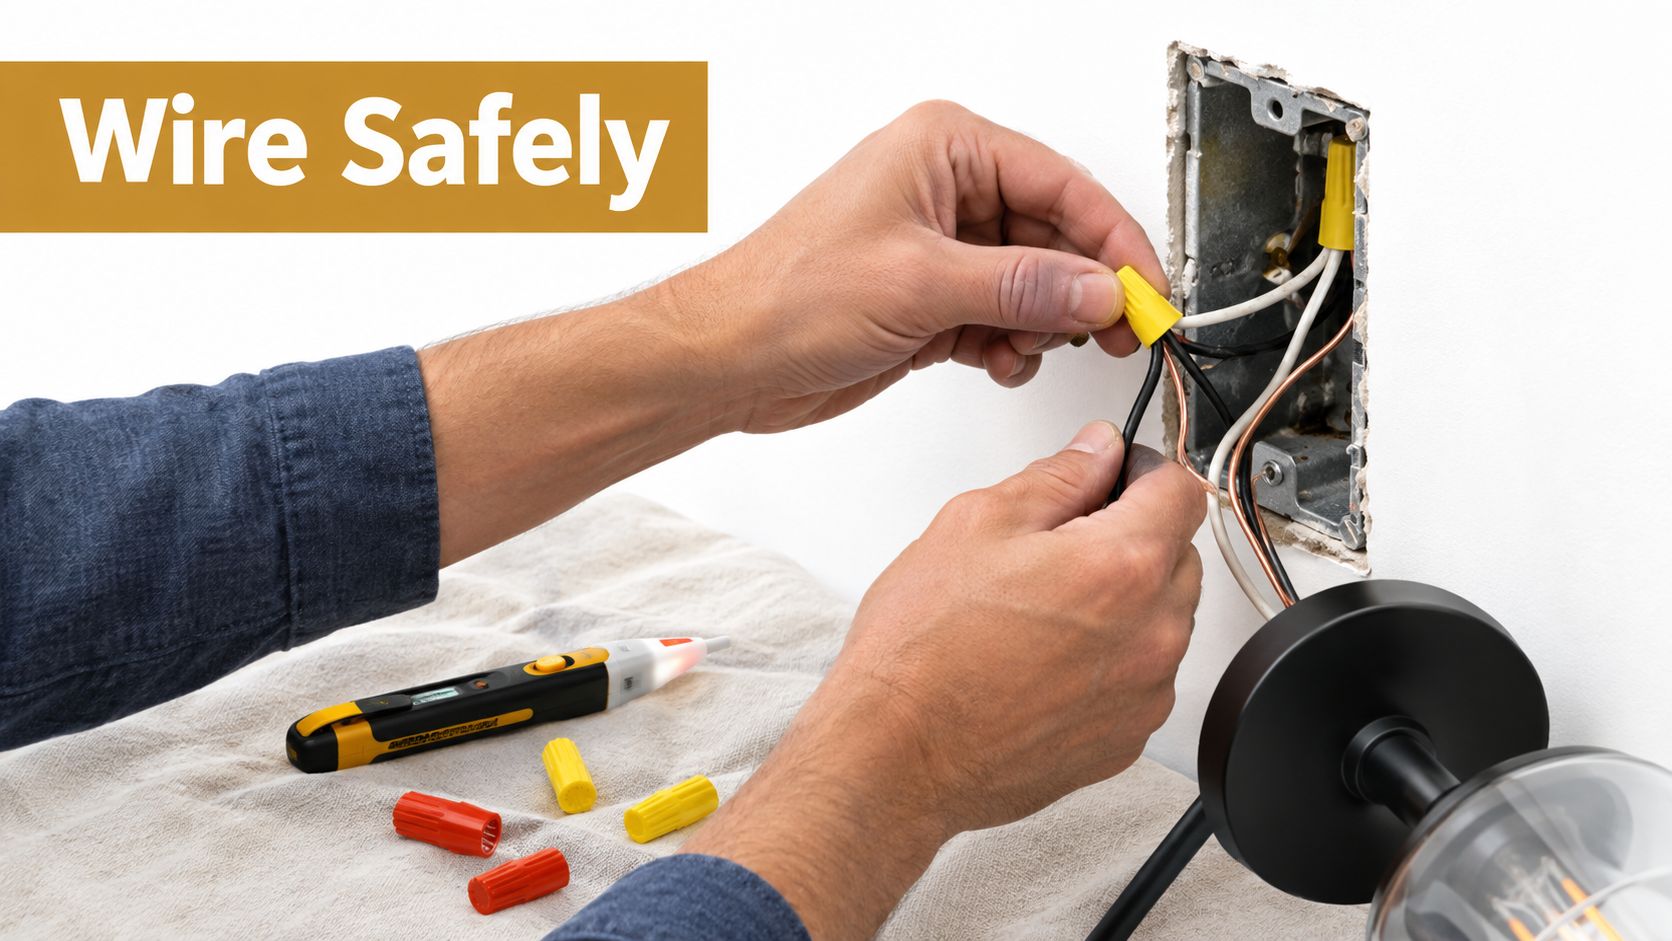
- Kill the power and verify it's off. Switch off the circuit at the breaker before removing the old fixture. The wall switch does not prove the box is dead — a mislabeled breaker or switch-loop arrangement can leave a conductor energized. Test the wires with a non-contact voltage tester, check more than one conductor, and verify the tester on a known energized source before and after use. Stop if the result is uncertain.
- Remove the old fixture and check the box rating. Identify how its bracket attaches — it may use a crossbar, keyhole strap, or direct attachment to the box ears. Do not assume that hardware suits the replacement sconce. Confirm the box rating in its markings or product documentation. A fan-rated box applies only when the box is listed for that use, not because the fixture feels heavy.
- Add a box only if none exists. Mark the opening with the remodel-box template and inspect the cavity before cutting. Check for studs, pipes, insulation, and existing cable. Feed the cable into the box, secure the box according to its instructions, and set its front edge flush with the finished wall — a box set too far back can leave the canopy unstable, and one projecting too far can keep the backplate from sitting flat. Older plaster, damaged drywall, a shallow box, a cable that's too short to handle safely, or a wall that crumbles around the opening means this has stopped being a simple fixture swap — repair the wall or call an electrician before proceeding.
- Make clean connections. Strip each conductor to the length specified by the connector — approximately three-eighths inch is a practical benchmark, but the connector and fixture instructions determine the final strip length. Connect hot to hot, neutral to neutral, and ground to ground. Where applicable, bond a ground pigtail to the metal box and connect it to the fixture grounding lead. Verify branch-circuit capacity as detailed in the Wiring Configurations and Dimmer Compatibility section below — if the existing load leaves insufficient capacity for the sconce, use another circuit or have an electrician assess the installation. Do not solve an overloaded circuit by forcing wires into a crowded box.
- Mount the fixture without straining the wires. Tuck the conductors into the box without crushing them or making sharp folds. Fasten the supplied mounting bracket to the box, then secure the fixture body to the bracket before releasing it. Most manufacturer installation instructions warn against letting the fixture hang from the conductors while you work, since that strains the terminations and can pull the canopy out of alignment.
- Restore power and test. Tighten the canopy screws evenly until the fixture sits flush against the wall. Restore power only after every connection is enclosed and the fixture is firmly supported. Test the switch, watch for flicker or unusual heat, and shut the breaker off again if anything behaves unexpectedly.
Placement Heights and Bathroom and Outdoor Rules
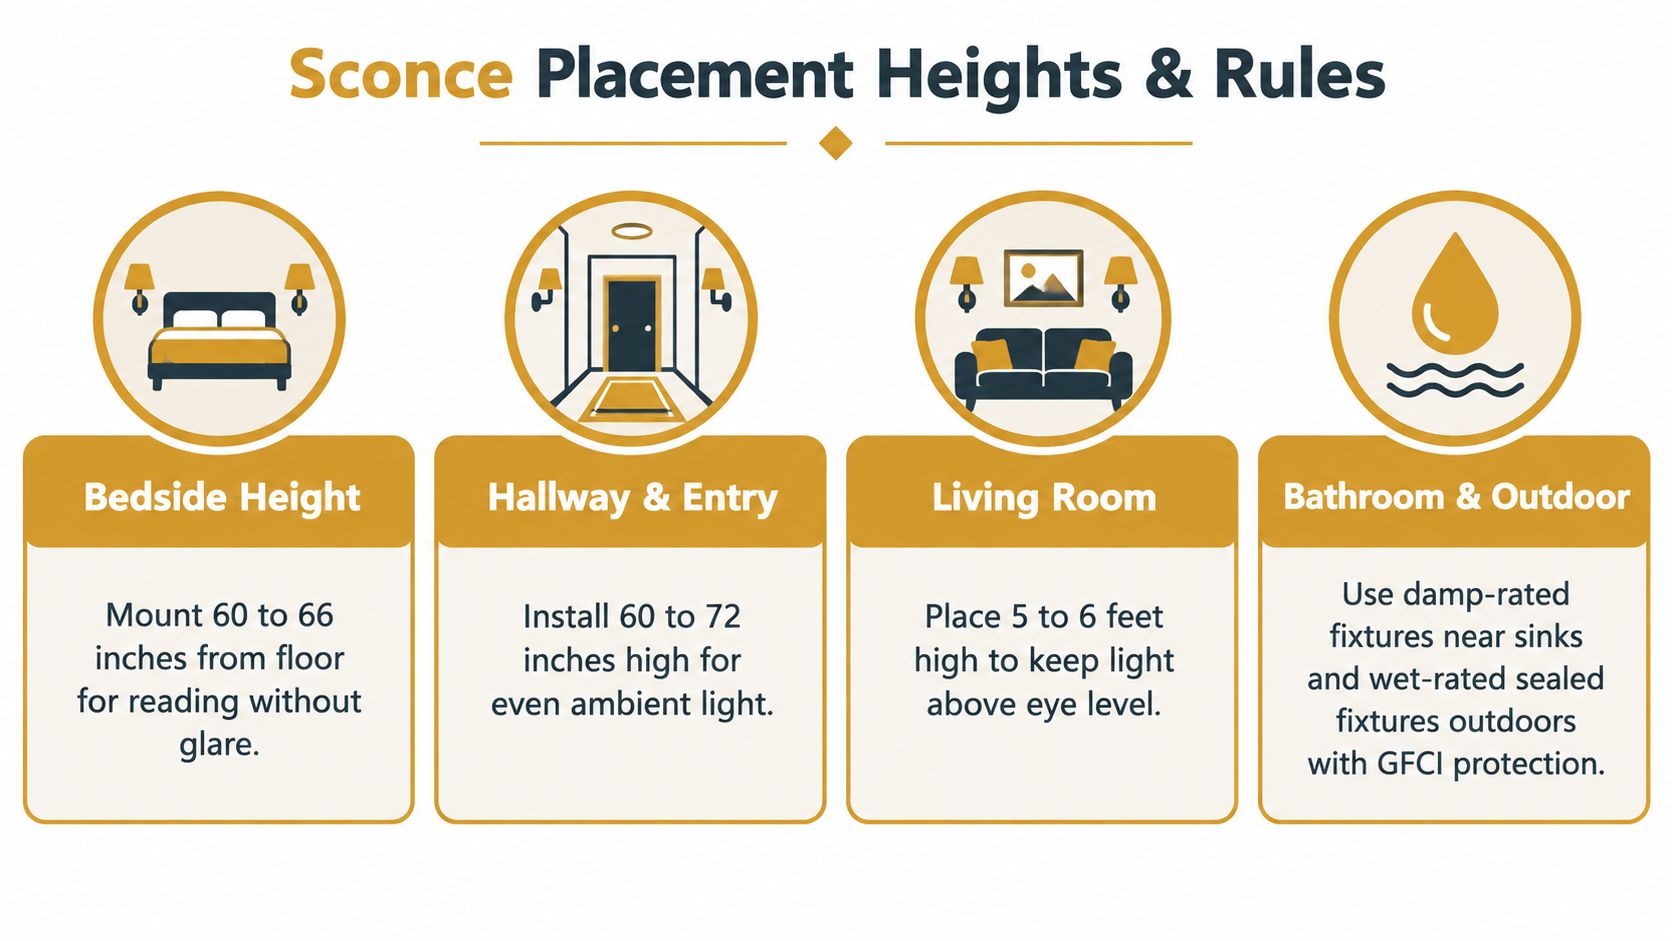
Set the sconce against the room's people, furniture, and sightlines, not an isolated tape-measure mark. For general decorative sconces outside a mirror or grooming setup, a practical residential starting range is 60 to 72 inches above the finished floor, then adjust for the bed, mirror, console, furniture, and viewing angle.
Use these room-specific starting points:
- Bedside lighting: Begin around 60 to 66 inches from the floor. Check the fixture against the mattress and seated reading position so the shade does not glare into your eyes or sit at an awkward angle.
- Hallways and entries: Aim for 60 to 72 inches from the floor. Align repeated fixtures along the corridor instead of allowing each one to drift.
- Living-room ambient lighting: Mount within 5 to 6 feet of the floor. This keeps the light above direct eye level while adding useful vertical illumination.
- Bathroom vanity lighting: For side-of-mirror sconces, center them around 60 inches from the floor, adjusted to the user's eye level, and always install them as a pair flanking the mirror — a single sconce centered above a mirror is a look Golden Lighting doesn't recommend, since it reads as underlit and unbalanced. If you're using an above-mirror light bar instead of sconces, run it at 78 to 84 inches AFF for a standing user (with at least 6 inches of clearance to the ceiling) or 52 to 66 inches for a seated or wheelchair-accessible vanity. This Old House's general guidance puts the vanity range at 60–70 inches, which lines up with the pair-flanking approach above.
Bathrooms and exposed locations
Bathroom placement is a code issue as well as a design decision. A fixture inside a shower zone needs a wet-location rating. Outside that zone, use a damp-location fixture only where its rating matches the actual exposure. Non-wet-rated fixtures commonly need to remain at least 3 feet horizontally and 8 feet vertically from the shower head or tub rim — the wet/damp-location exclusion zone set by NEC 410.10(D), not an ADA rule. Confirm the local requirements before drilling or wiring.
Outdoor sconces require ratings suited to real weather exposure, even under a covered porch. Choose a sealed fixture with compatible gaskets and corrosion-resistant mounting hardware, and use the circuit protection required by local code.
Keep projections safe
The ADA limits wall-mounted objects to 4 inches in depth when their leading edge falls between 27 inches and 80 inches above the finished floor — the "cane-detectable" zone for someone using a white cane or a wheelchair. This standard applies to public and commercial circulation spaces (corridors, walkways, and passageways in multi-family or commercial buildings); it isn't code-required in a private single-family home, but it's a sound collision-safety rule of thumb for any hallway a household actually uses. Local rules may be stricter, so follow the authority having jurisdiction.
For bathroom planning, Golden Lighting's bathroom sconce placement guide helps coordinate the fixture with the mirror and vanity instead of treating height as a standalone measurement.
Wiring Configurations and Dimmer Compatibility
Before choosing a switch, identify what the existing junction box contains. The wall condition and box wiring determine whether the new sconce can support the control system you want.
| Wiring configuration | Conductors typically present at fixture | Suitable control arrangement | Dimmer compatibility guidance |
|---|---|---|---|
| Standard single-pole | Line, neutral, switched hot, and ground | One wall switch controlling one sconce | Match the dimmer to the lamp or LED driver |
| Switch loop | Line runs to the switch, with switched hot returning to the fixture | Older wiring where the switch box may lack a neutral | A smart dimmer may require a neutral that is not present |
| Multi-location control | Travelers connect switches controlling one fixture | Sconce controlled from more than one location | Use a compatible three-way or smart-dimmer system |
A standard single-pole arrangement is straightforward. The neutral continues to the fixture, while the switch interrupts the hot conductor. In a switch loop, line power reaches the switch first, then switched hot returns to the sconce. Older two-wire cable may leave the switch box without a neutral, which immediately limits smart-control choices.
Stop if the box, cable, or grounding arrangement is unclear. Photograph the existing connections before disconnecting them, and have an electrician verify any retrofit that does not match the fixture instructions.
Dimmer selection depends on both the lamp and its driver. ELV or 0-10V dimmers suit particular LED systems, while halogen and legacy incandescent lamps generally require controls designed for those loads. A smart dimmer may also need a confirmed neutral. Check the fixture driver and the dimmer manufacturer's compatibility list together. Golden Lighting's LED dimming guide offers useful selection context.
Calculate the connected load before installing the control. Under the 80% continuous-load rule, a 600-watt dimmer should continuously operate no more than 480 watts of hardwired LED load. Apply the calculation to every fixture on that control, especially sconces that stay on for long periods. Do not judge capacity from the fixture's compact size.
When a Plug-In or Battery Sconce Is the Smarter Call
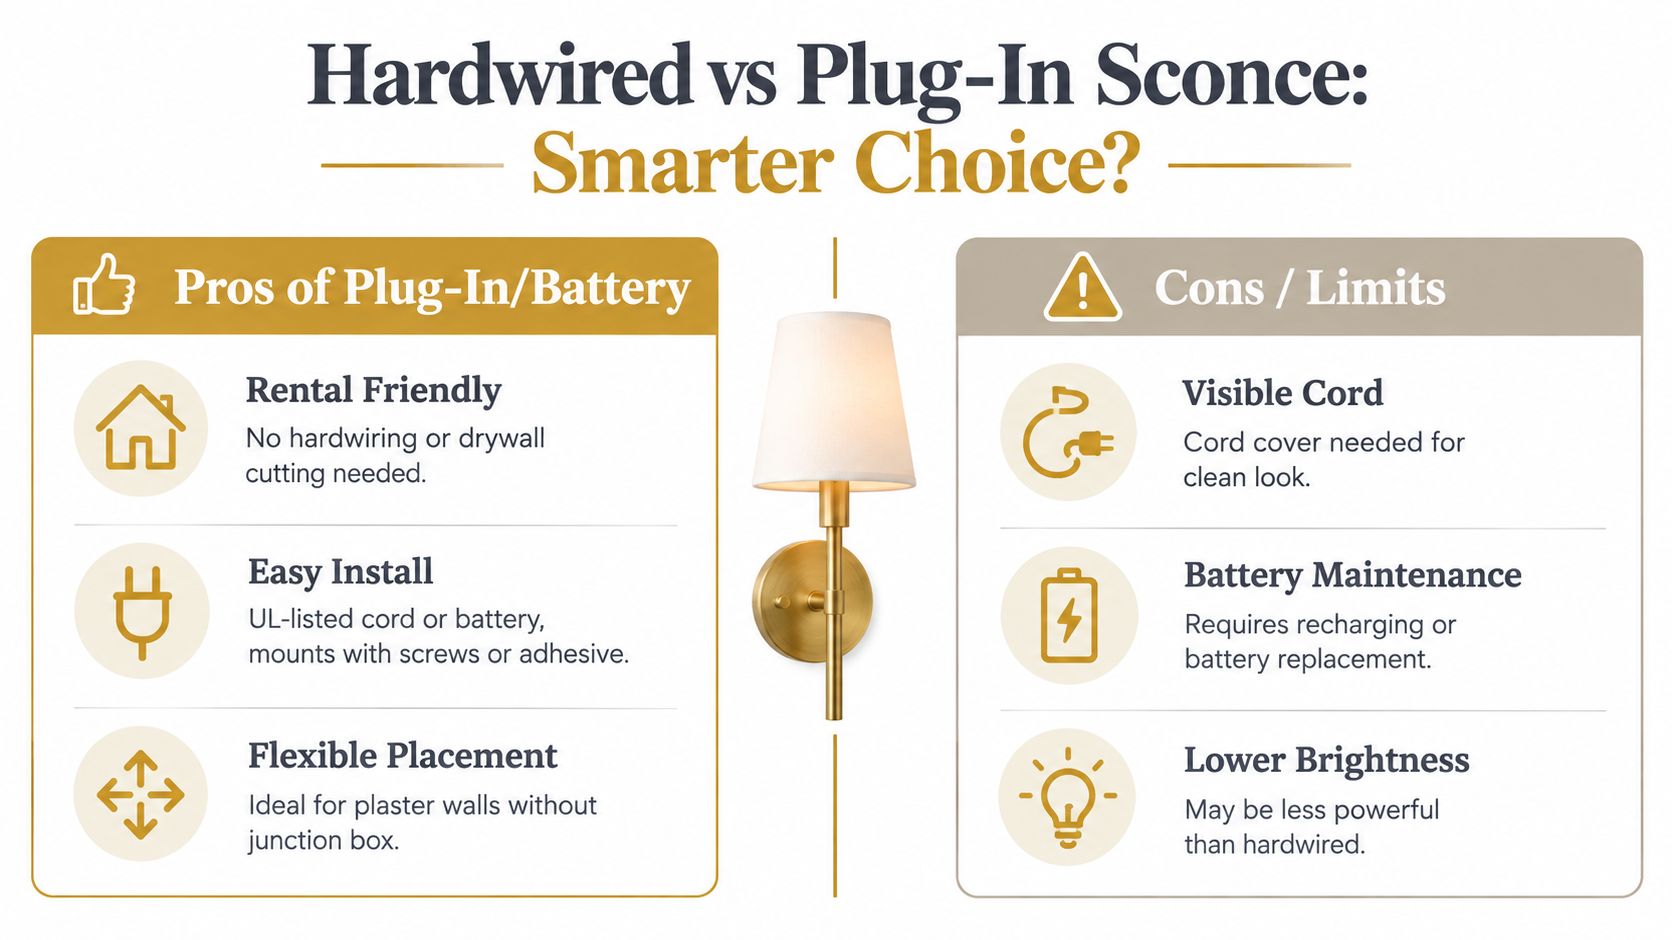
Hardwiring isn't automatically the right answer. A rental, a plaster wall without a junction box, or a finished surface that shouldn't be opened may be better served by a UL-listed plug-in sconce with a proper cord cover or a rechargeable battery model.
Plug-in and battery fixtures can create the wall-light effect without new hardwiring or a patched wall. They also make placement easier when a homeowner wants to test the height and visual balance before committing to an electrical location.
The limitations are real:
- Visible cords: A cord cover is needed for a clean appearance, and routing must avoid trip hazards.
- Location restrictions: A plug-in fixture isn't appropriate above a sink or outdoors unless the product is specifically rated for that environment.
- Control limitations: Plug-in and battery models may not work with the same dimmer or smart-switch setup as a hardwired fixture.
- Maintenance: Battery products require recharging or battery replacement, and their output can diminish over time.
A hardwired sconce provides a more permanent finish and cleaner control integration. A plug-in or battery model provides retrofit flexibility — treat the two as genuinely distinct installation paths rather than forcing every project into traditional wiring.
The right choice depends on the wall and the room's long-term use. Golden Lighting offers sconces with plug-in or hardwire options, so the installation format can be considered alongside the desired silhouette and finish rather than after the design decision.
Troubleshooting After Install and When to Hire an Electrician
A newly installed sconce should operate, remain rigid, and respond predictably to its switch. The symptom usually points toward a specific fault, so random tightening and repeated breaker resets aren't acceptable troubleshooting.
| Symptom | Likely Cause | Fix | Call an Electrician? |
|---|---|---|---|
| Flickering | Loose neutral or incompatible dimmer | Turn off power, remake the connection, and confirm LED dimmer compatibility and low-end trim | Yes, if flickering continues |
| Loose or tilted canopy | Misaligned bracket or under-rated box | Recheck the crossbar, box support, and canopy screws | Yes, if the box moves |
| Tripped breaker | Wiring error, overload, or shorted socket | Inspect every splice and check adjusted circuit load before resetting | Yes, for repeated trips |
| No power after restoration | Broken switch leg or mislabeled breaker | Retest conductors with a non-contact tester and verify the circuit | Yes, if the circuit remains uncertain |
A flickering light often begins with a loose neutral or a dimmer that doesn't match the LED driver. Turn the breaker off, remake the connection with the correct strip length and listed connector, then verify the dimmer's compatibility and low-end adjustment.
A loose canopy usually indicates a mechanical problem, not a bulb problem. Check that the mounting strap is secure, the box sits flush, and the box is listed for the fixture's weight. If the box shifts inside the wall, stop tightening the canopy. The wall support needs correction.
A breaker that trips may signal a wiring mistake, an overloaded circuit, or a shorted socket. Don't keep resetting it. Inspect the connections only with power off, apply the adjusted load calculation, and hand the circuit over if the cause isn't obvious.
Know when the project is over
A licensed electrician should handle aluminum wiring, knob-and-tube wiring, recurring breaker trips, multiple simultaneous fault symptoms, or any uncertainty at the panel. The same applies when the wall cavity contains damaged conductors or the box can't be secured without opening more of the wall.
For homeowners arranging professional help, a few checks go a long way: confirm the electrician holds a current state license, ask for proof of liability insurance, and get a written scope of work — separating labor, materials, and any permit or inspection fees — before anything opens up. DIY ends where liability, insurance, and uncertainty begin.
Choose the wall, box, fixture rating, and control system before choosing the finish. Then measure the intended height, inspect the junction box, and decide whether the project is a clean hardwired retrofit or a better candidate for plug-in or battery lighting. Explore Golden Lighting's wall sconce collection and related chandeliers, pendants, vanity, and outdoor lighting options, then contact a qualified electrician for any box, circuit, or wiring condition that isn't clearly safe.
— seen a lot of light fixtures in 80+ countries. Still learning what actually works in a home.











Share:
Contemporary Pathway Lighting How to Plan a Modern Glow