



Written by Rick Kovac, COO of Golden Lighting
The takeaway: A bathroom lights well when it's planned as three separate jobs — ambient, task, and accent — not when a single fixture gets swapped for a brighter one.
Key takeaways:
- Plan every bathroom in three layers — ambient, task, and accent — rather than asking one fixture to carry the whole room.
- Vanity task lighting should land around 20–30 footcandles at the mirror, measured about three feet out — well beyond what a single overhead bulb delivers.
- Side sconces beat a single overhead light for grooming because they light the face from both sides, not just from above.
- Match every fixture's damp or wet rating to its actual zone — shower spray is wet, everywhere else in the room is at least damp — and confirm it on the fixture's own listing, not a rule of thumb.
A bathroom can have beautiful tile, a carefully chosen mirror, and an expensive vanity, yet still feel wrong when the lighting comes from one harsh ceiling fixture. The popular advice to “just add a brighter bulb” misses the underlying problem. A bathroom isn't one lighting environment. It's a group of zones with different visual tasks, moisture exposure, and comfort needs.
The practical answer to how to light bathroom spaces like a professional is to plan the room in layers. Ambient lighting lets people move safely, task lighting makes faces readable at the mirror, and accent lighting gives the room depth without forcing every fixture to operate at full output. Golden Lighting approaches bathroom planning from that performance-first perspective, helping homeowners and designers choose fixtures that work beautifully because they've been placed thoughtfully.
Why One Overhead Light Fails Your Bathroom
A single overhead light seems efficient, but it usually places illumination directly above the head rather than in front of the face. That position creates shadows beneath the eyes, nose, and chin, which makes shaving, skincare, and makeup more difficult. It can also leave the mirror wall and room corners visually dull even when the center of the bathroom looks bright.
In years of lighting manufacturing and installation review, the same mistake appears repeatedly: the fixture gets selected before the lighting zones are mapped. A decorative flush mount may look appropriate on a showroom ceiling, but it can't compensate for missing light at the mirror.
Honest aside: We'll say the quiet part out loud — the single biggest upgrade regret we hear from homeowners isn't the wrong finish or the wrong style. It's a beautiful flush mount centered over the mirror and nothing else, because it photographed well and nobody thought about where the shadows would actually fall.

The three jobs bathroom light must perform
A reliable plan separates the room by purpose:
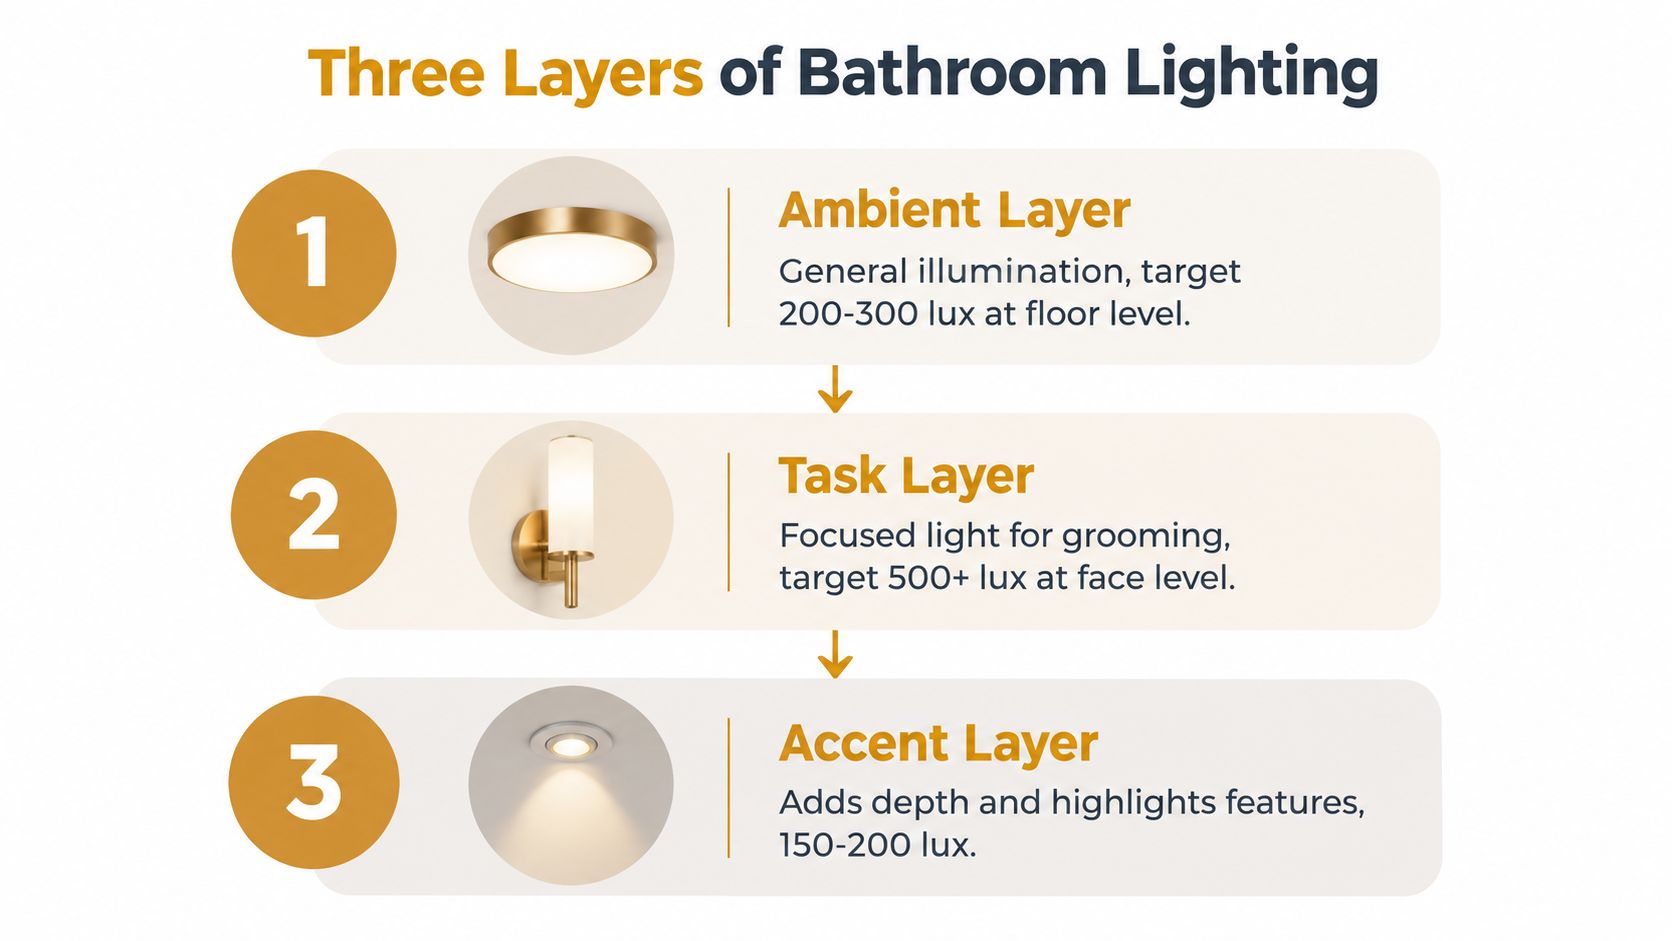
- Ambient illumination: Provides the general light needed to move through the room and identify surfaces.
- Task illumination: Concentrates light around the mirror and vanity, where facial visibility matters most.
- Accent illumination: Adds visual depth around architectural details, niches, cabinetry, or a freestanding tub.
The layers shouldn't compete. Ambient light establishes a comfortable baseline, task light handles grooming, and accent light supports atmosphere. A recessed downlight can serve the first layer, but it can't reliably replace side lighting at the mirror.
Professional rule: A brighter version of the wrong fixture position is still the wrong lighting plan.
Why layered lighting works morning and night
Morning routines need clarity. Evening bathing often benefits from a softer setting that doesn't make the room feel clinical. Separate circuits or dimmable controls let the same bathroom shift from a practical workspace to a calmer retreat without changing the fixtures.
The approach also improves visual balance. Light arriving from the ceiling, wall, and selected lower or recessed positions fills more of the room than a single beam aimed downward. Decorative fixtures, including a compact pendant in an appropriate dry zone or a refined ceiling mount, can contribute character, but they should support the functional plan rather than carry it alone.
The central design decision is simple: stop asking which fixture will light the bathroom and ask which fixture will serve each zone. That change prevents the most common failure, an attractive room with poor facial illumination.
Building Your Three Layers of Illumination
A bathroom needs several lighting environments, not one fixture expected to handle every task. Start by setting targets for each zone before choosing decorative hardware. For the vanity, Golden Lighting's own design standard calls for roughly 20 footcandles for casual use and 30 footcandles for close grooming, measured about three feet from the mirror — rising to 40 footcandles at five feet for anyone whose eyes need the extra margin. A single 60-watt incandescent bulb produces about 800 lumens, which is rarely enough on its own; that's why vanity lighting is almost always a multi-source layer, not one bulb doing the whole job.
Those figures apply to the vanity, not the whole room. Circulation routes, the shower, and atmospheric areas each need their own lighting decision.
Start with ambient illumination
Aim for ambient light that's noticeably brighter than a hallway but still secondary to the task layer at the mirror — enough to move around tile, thresholds, and a wet floor with confidence. Golden Lighting bathrooms are lit for safety first: steps, tub edges, shower thresholds, and any standing-water zone should read clearly from both a standing and a seated position, not just from wherever the designer happened to stand while planning the room. Flush mounts, semi-flush mounts, recessed downlights, and suitable ceiling fixtures can all provide this base layer.
Aim ambient light at routes and dark corners, not only at the center of the floor. A ceiling fixture that creates a bright pool over the user can still leave storage, thresholds, and wall surfaces poorly served.
Give the mirror its own task layer
Evaluate mirror lighting vertically at face height, rather than horizontally across the countertop. Per ANSI/IES lighting guidance, vanity task lighting should deliver roughly 20 footcandles for casual use and 30 footcandles for grooming, measured about three feet from the mirror.
The measurement point changes the result. A bright countertop does not guarantee a well-lit face. Side sconces or a broad, diffused mirror bar distribute light across the working area and reduce shadows.
Reserve accent light for depth
Accent lighting supports the room's visual hierarchy. Use it to highlight a tiled niche, wash a textured wall, softly light the underside of a vanity, or provide a low-level route for nighttime movement. It should not carry grooming tasks.
Separate switching or dimming lets ambient, task, and accent layers work independently. Golden Lighting's guide to layering lighting explains how separating these functions reduces dependence on one switch — the installation sequence stays practical either way: size each zone first, then select the fixture form.
Mastering Vanity Placement and Color Temperature
Vanity lighting is a performance test, not a symmetry exercise. A fixture centered over the cabinet can still leave the face unevenly lit when the mirror, basin, and user sit on different visual centers.
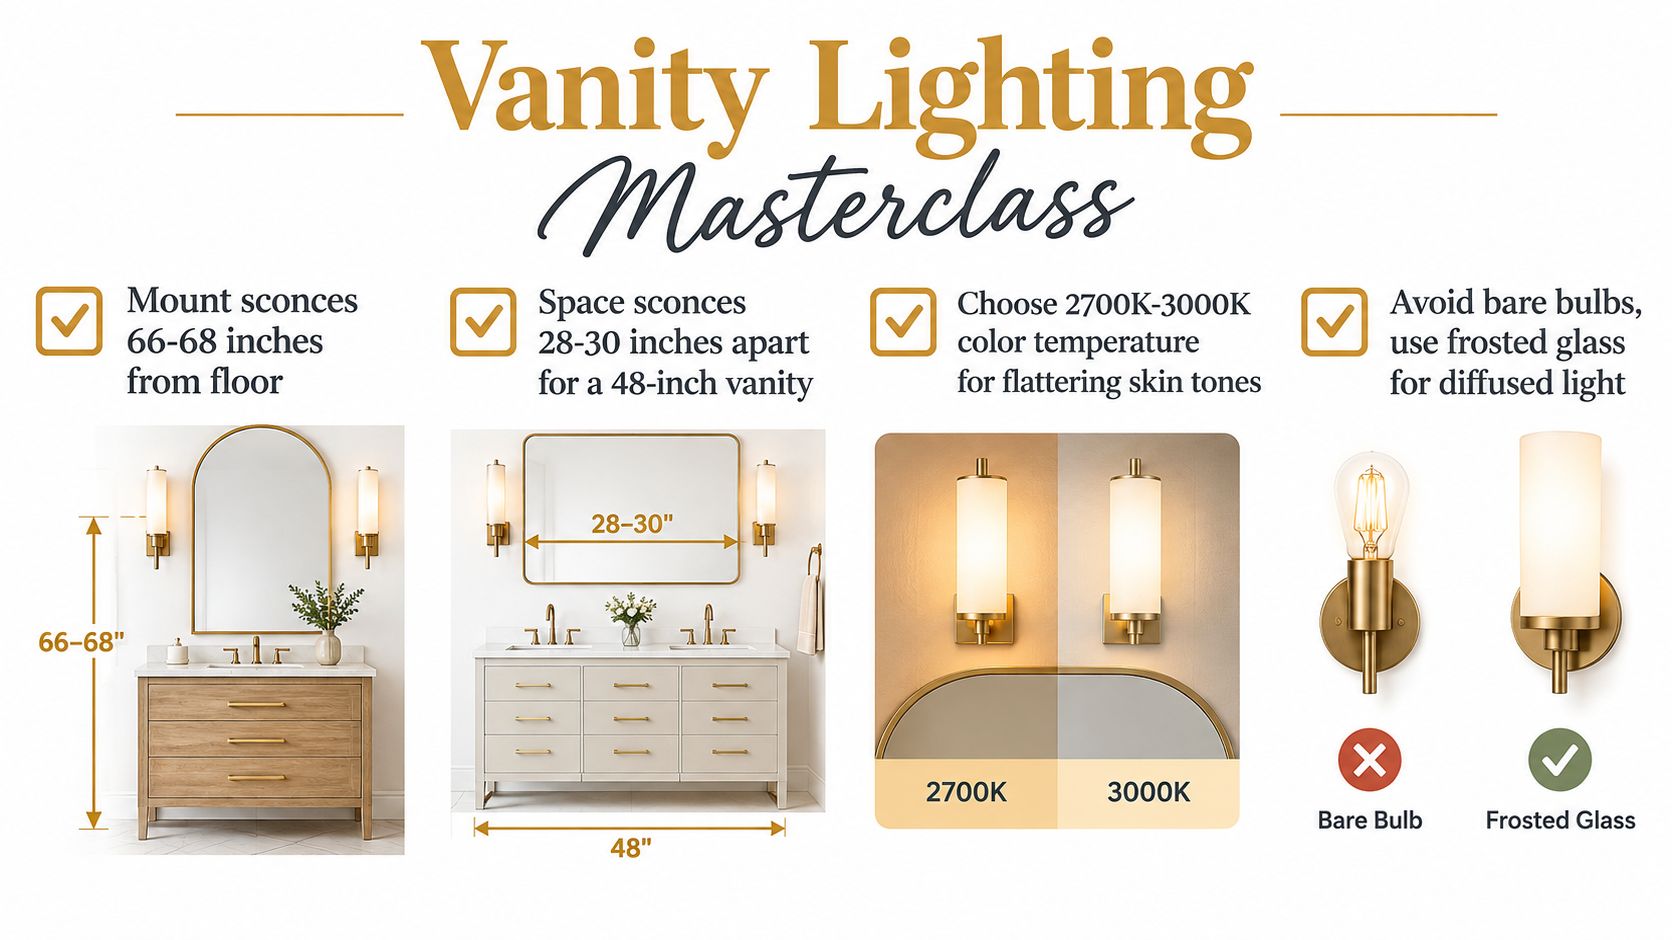
Per Golden Lighting's own grooming-lighting standard, side sconces typically center around 60 inches above the finished floor, adjusted up or down to meet the user's actual eye level — not a fixed number regardless of who's standing at the mirror. Space the pair comfortably wider than the face itself so light wraps both cheeks instead of pinching down the nose. That arrangement brings light beside the face, reducing the shadows created when all illumination comes from above.
Size the fixture from the mirror outward
Use the mirror as the starting dimension: keep an over-mirror bar comfortably narrower than the mirror itself rather than spanning its full width. Treat any fixed percentage you see quoted online as a rough starting point, not a rule — side sconces need their own spacing calculation because their projection and position affect the face directly.
Center the fixture over the sink or the user's face rather than automatically over the cabinet. A broad vanity with an offset basin can look centered on the wall while leaving the working area visually unbalanced.
Choose color temperature for the routine
Color temperature should follow the routine. Golden Lighting lamps its ambient bathroom layer in the same 2,700K–3,000K residential band used throughout the rest of the home, and steps up to a neutral ~3,500K for the task layer at the vanity — the temperature where grooming light reads true without tipping cold and commercial.
A powder room can stay in the warmer range throughout. A primary vanity often benefits from the clearer range when detailed grooming is part of the daily use. For color accuracy, Golden Lighting builds every fixture to at least 90 CRI, matching the level ANSI/IES lighting guidance recommends for spaces where skin-tone rendering matters.
Bare lamps and narrow beams create glare and hard facial shadows. Frosted or diffused glass, broad light sources, and illumination from both sides of the mirror produce a more forgiving result.
A quick look at how professionals plan vanity lighting before choosing a fixture:
For mounting decisions, use Golden Lighting's standard vanity light height guide. Set the finished installation for the person standing at the mirror, then confirm that the fixture, mirror, and basin read as one working zone.
Navigating Wet Zones and Safety Ratings
A bathroom fixture doesn't become safe because it looks appropriate beside a sink. Moisture exposure determines the required protection, and the correct rating can change within the same room.
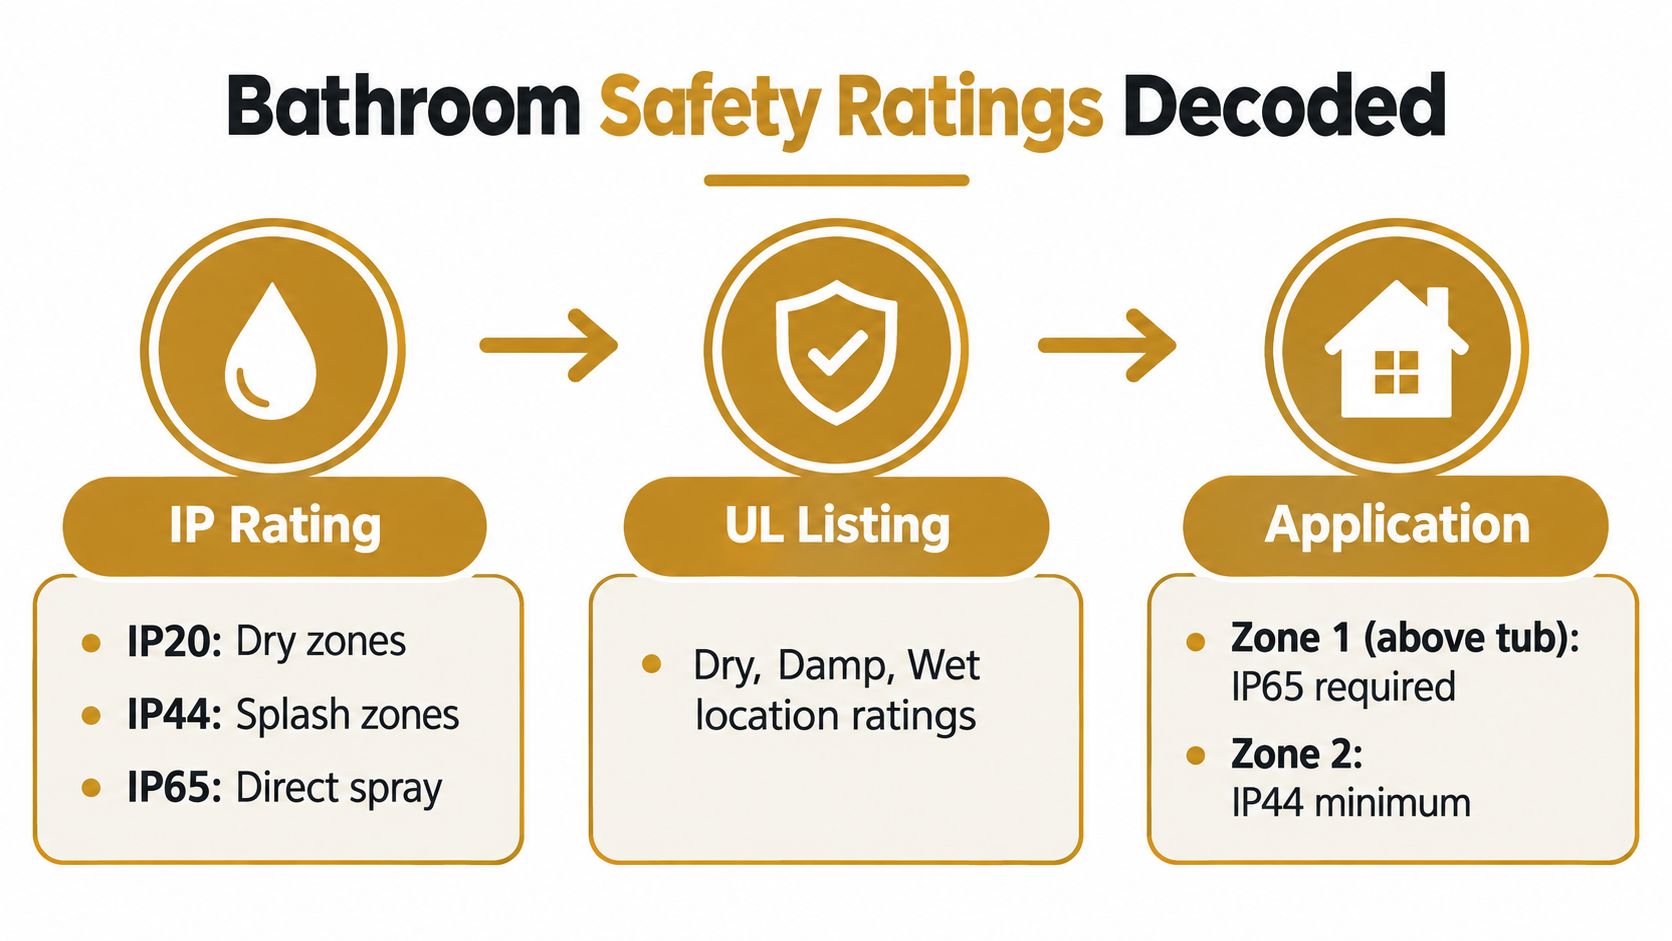
The most important distinction is between damp-rated and wet-rated fixtures. Per NEC 410.10(A), luminaires in wet locations must be listed and marked suitable for wet locations, and damp locations require at minimum a damp rating. In the United States, a UL or ETL wet-location listing on the fixture itself is what actually matters for code review — more than an imported IP number.
Use the zone boundaries as a decision tool
A simple way to think about it, mapped to U.S. code rather than the zone systems some guides borrow from overseas:
- Inside the tub or shower: wet-rated only — direct spray reaches this zone.
- Directly above or within reach of the tub or shower: wet-rated, unless the fixture sits well outside any realistic spray path — check the fixture's own listing rather than guessing.
- Everywhere else in the room, including near the sink: damp-rated at minimum.
Local electrical code can vary, so the installer should confirm the specifics that govern the project. In U.S. installations, shower-spray areas typically also require GFCI protection, and the fixture's own listing — not a rule of thumb — should be the final word before it goes on the wall.
Match the product marking to the location
A vanity fixture that works in a damp bathroom zone may be unsuitable inside a shower enclosure. Conversely, specifying a heavy wet-location fixture where exposure is minimal can limit style and add unnecessary product constraints.
The useful workflow is direct:
- Mark the bath, shower, basin, and spray boundaries on the plan.
- Identify the zone for every proposed fixture.
- Confirm the product's damp, wet, UL, ETL, and IP markings.
- Have a qualified electrician verify the installation and local code requirements.
Golden Lighting's wet-rated outdoor lighting resource provides helpful context on how moisture ratings affect fixture selection. The same disciplined thinking belongs inside the bathroom. Style comes after safe placement.
Selecting Fixtures That Balance Style and Function
Once the zones are established, style becomes easier to manage because every fixture has a job. A vanity sconce should deliver comfortable facial illumination. A ceiling fixture should distribute ambient light. An accent piece can introduce personality without being forced to perform work it wasn't designed to do.
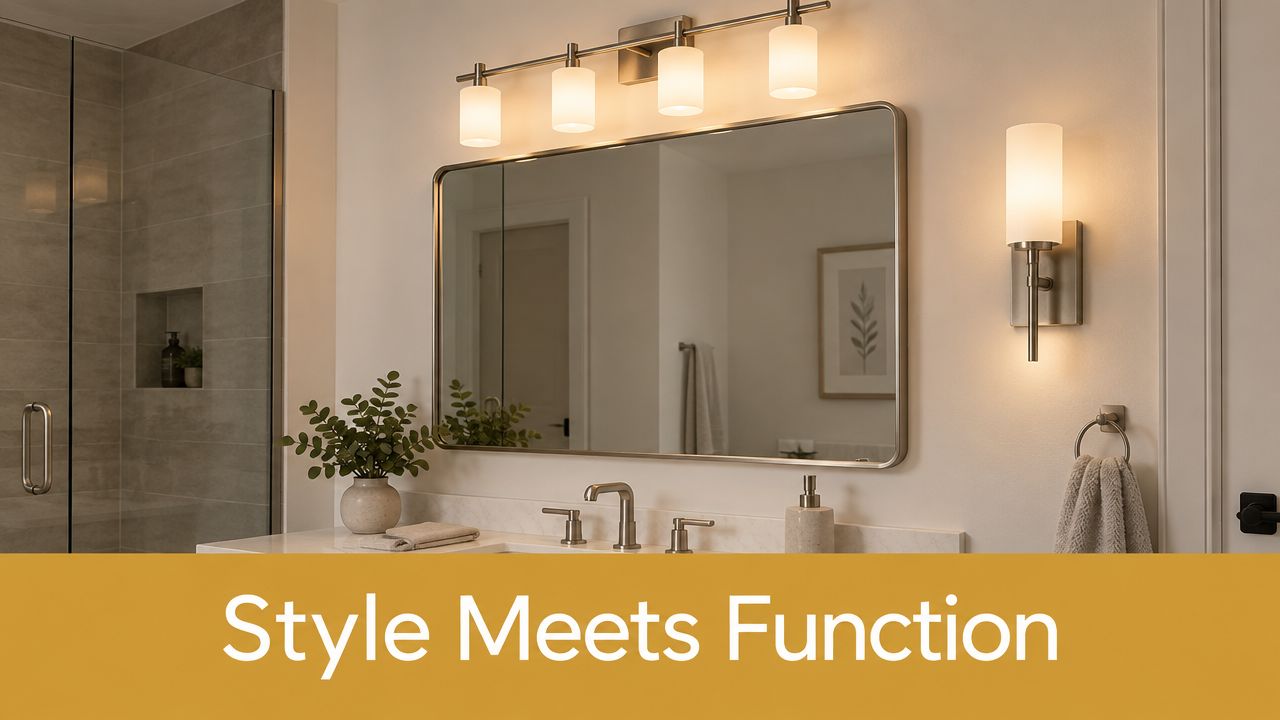
The strongest bathrooms pair dependable task lighting with more expressive decorative elements. Clear ribbed glass can add visual texture, while frosted glass softens the source and reduces glare. A polished chrome frame can reinforce a crisp contemporary scheme, while a warmer finish can make stone, wood tones, and painted cabinetry feel more inviting.
Judge the fixture by its work
Decorative appeal matters, but the fixture still needs to perform in its assigned zone. Evaluate these details before approving a finish:
- Glass treatment: Diffused glass generally provides a gentler source than an exposed bare bulb.
- Light direction: Up, down, and side distribution affect facial shadows and wall brightness.
- Scale: Fixture width should relate to the mirror, not only fill unused wall space.
- Finish coordination: Matching every metal can look rigid, while intentional mix-and-match choices can add character.
- Serviceability: Accessible lamps, drivers, and controls make long-term maintenance less disruptive.
Backlit mirrors and sculptural pendants can serve as accents, but they shouldn't automatically replace vertical side lighting when grooming accuracy is the priority. The fashionable choice isn't always the effective primary task source.
Make room for personalization
Creative homeowners can combine a straightforward vanity bar with distinctive ceiling or accent fixtures. YEP by Golden supports a mix-and-match approach through interchangeable shades, finishes, and glass, which gives a designer more control over the final combination. For refined, showroom-forward specifications, Ziva by Golden provides a more elevated product language suited to carefully edited interiors.
Homeowners weighing a DIY installation should separate cosmetic assembly from electrical work. Fixture mounting may be manageable for someone with the right experience, but wet-zone placement, circuit protection, grounding, and code compliance deserve a qualified electrician's review.
The practical compromise is to personalize visible materials while keeping the performance decisions firm. Let the room show taste through finish and silhouette, but let placement, diffusion, output, and ratings determine whether the installation succeeds.
Finalizing Your Plan with Controls and Next Steps
A bathroom with one on/off switch discards much of the value created by layered lighting. Morning grooming and evening relaxation call for different output, so separate circuits and dimming belong in the plan from the start, not as a late upgrade.
Dimmers reduce glare and let users adjust light to the task. Warm-dim LEDs can soften the room after dark, while smart switches can schedule or coordinate scenes without requiring a fully automated home. The electrician should confirm that the controls match the selected fixtures and LED drivers before installation.
Run the final design check
Before ordering, test the plan against the room's zones and daily use:
- Output: Plan the vanity around the 20–30 footcandle benchmark described earlier, then size ambient and shower lighting independently.
- Face visibility: Check illumination at face height. Countertop brightness alone can leave shadows across the face.
- Mirror relationship: Confirm the mirror dimensions and sink position before choosing the fixture.
- Color: Select a Kelvin range suited to the routine, with high CRI for accurate grooming.
- Moisture protection: Match each fixture to its zone and verify UL, ETL, or applicable IP markings.
- Controls: Place ambient, task, and accent layers on controls that support both practical and relaxed use.
Controls also affect how successfully the room serves distinct environments. A compact powder room may need only a few circuits, while a larger renovation requires clearer separation between vanity, ceiling, and wet-zone lighting. Fixture count matters less than location, output, protection, and everyday adjustability.
Golden Lighting's vanity, sconce, ceiling, and outdoor collections can support different layers throughout a home. Explore the current collections to compare silhouettes, finishes, and glass options before speaking with a showroom or qualified installer. Begin with a mirror and wet-zone map, confirm the performance specifications, then choose decorative details that work within those limits.
— seen a lot of light fixtures in 80+ countries. Still learning what actually works in a home.












Share:
Where to Hang a Mirror Above Your Console — And Why the Light Above It Matters Too
How to Size a Light Fixture to the Furniture Underneath It