



Written by Rick Kovac, COO of Golden Lighting
The takeaway: Dimmable under-cabinet lighting only performs reliably when the fixture, its LED driver, and the dimmer are chosen and tested together as one system — treating "dimmable" on the box as the whole specification is the single most common cause of flicker, buzzing, and dead zones.
Key takeaways:
- Flicker, buzzing, and dead zones almost always trace back to a mismatch between the LED driver, the dimmer type, and the total connected load — not a defective fixture.
- Size the driver for the full connected wattage plus roughly 20% headroom, and confirm the dimmer is LED-rated and compatible with that specific driver before buying a whole kitchen run.
- Mount fixtures toward the front edge of the cabinet underside — roughly 2 inches back — so light falls on the counter instead of the backsplash.
- Test one fixture through its full dimming range, including the low end, before final mounting; it's far easier to swap a dimmer on the bench than after the cabinets are closed.
A kitchen can have beautiful cabinets, carefully chosen countertops, and an impressive pendant, yet still feel difficult to work in when the counter sits in shadow. Dimmable under cabinet lights solve that daily frustration by adding light where preparation happens, then softening the output when the kitchen shifts from cooking zone to evening gathering space.
The difficult part isn't choosing a fixture labeled “dimmable.” Smooth performance depends on the relationship between the fixture, its LED driver, the dimmer, and the total electrical load. The guidance below treats that relationship as a complete system, so homeowners, designers, and installers can avoid flicker, buzzing, dead zones, and expensive rework.
Why Your Dimmable Under Cabinet Lights Keep Failing
The most common failure doesn't begin with a defective light. It begins when an installer treats the word dimmable as a complete specification rather than one part of an electrical system.
A stable installation needs three elements to agree:
- The LED driver: This regulates power for the LEDs and determines how the fixture responds to control signals.
- The dimmer type: The wall control must be rated for the fixture and driver, not just for household lighting in general.
- The connected load: The total wattage on linked fixtures must fall within the dimmer and power supply ratings.
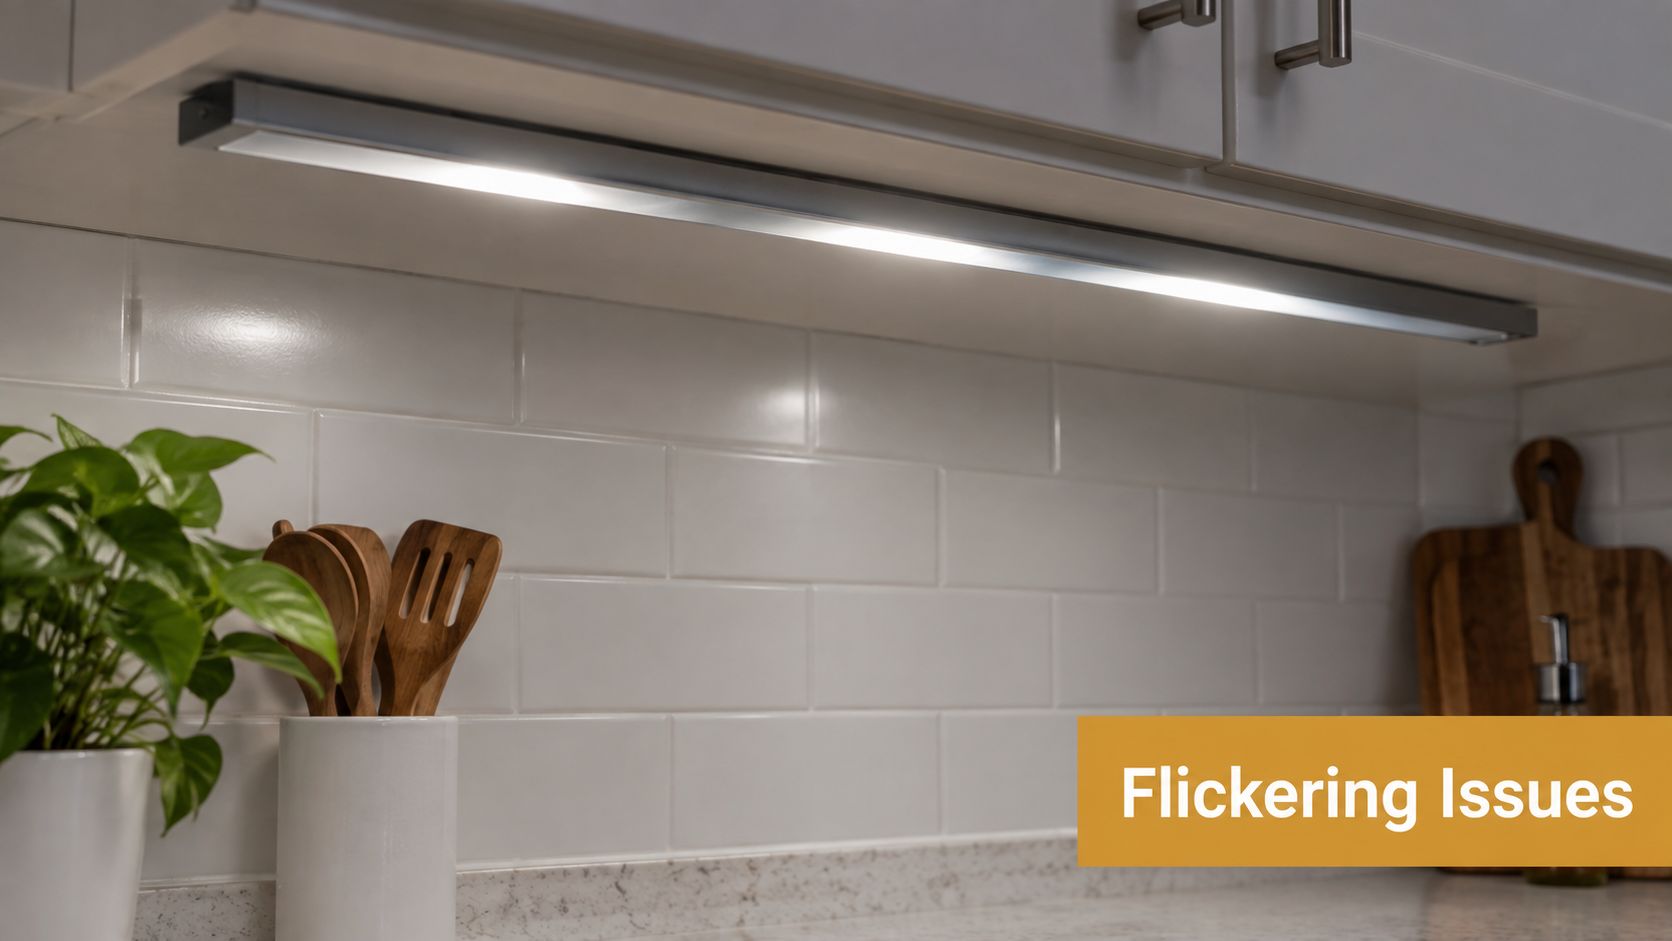
When those elements don't match, the symptoms are familiar. The lights may flicker at low output, buzz while being adjusted, refuse to dim below a particular point, or switch off unexpectedly. A product can be correctly labeled and still perform poorly with an incompatible control.
The driver controls more than power
In low-voltage systems, the driver converts household power into the voltage required by the LED tape or fixture. That driver is also central to dimming behavior. A wall dimmer can send the correct type of control signal, but the driver still needs to interpret it properly.
This is why dimmable on the fixture alone isn't sufficient evidence of compatibility. The driver, dimmer, and fixture form a stack, and every layer matters. Guidance from Leviton's LED/dimmer compatibility testing highlights the practical consequences of mismatches, including flicker, buzzing, dead zones, and limited low-end dimming.
Why standard dimmers cause trouble
Older incandescent-style dimmers were designed around different electrical loads. LED systems often need an LED-rated dimmer, and some low-voltage installations require a particular control type. An incandescent control may appear to work at full brightness while becoming unstable as the output falls.
A useful installation mindset is simple: dimming is a compatibility check, not a feature checkbox. Before buying a full kitchen run, verify the fixture voltage, driver specification, dimmer type, and minimum load. Testing one fixture or one short run before final mounting can reveal a problem while the installation is still easy to change.
Choosing Fixtures for Your Space and Use Case
Fixture selection should begin with the countertop task, not the fixture's appearance in the package. A cook preparing food needs even, usable light with accurate color, while a homeowner seeking evening atmosphere may prioritize a warm output and a wide dimming range.
Start with output and color
Brightness is measured in lumens, while color temperature is measured in Kelvin. Individual product specs vary by length and wattage — for example, one widely stocked 120V integrated LED bar is rated at 11W, roughly 825 lumens, and a CRI around 90, according to this dimmable under-cabinet fixture's listed specifications; shorter bars in the same product family run lower in both wattage and lumen output. That gives a useful reference point for comparing products, but the correct choice still depends on cabinet length, countertop reflectivity, and whether the light serves task or ambient use.
Color temperature changes the character of the room:
- 2700K: A warm, relaxed appearance that suits evening ambience and traditional finishes.
- 3000K to 3500K: A balanced choice for many residential kitchens, especially where warmth and clarity need to coexist.
- 4000K: A cleaner neutral white that suits task-heavy preparation areas.
- 5000K: A cooler appearance that may suit utility or highly task-focused spaces, though it can feel sharp beside warm room lighting.
Some product lines offer selectable color temperatures across this range — commonly 2700K to 4000K, with broader options reaching 5000K — letting a single fixture serve both task and ambient use. The practical sequence is to choose CCT first, then adjust brightness to control glare and comfort.
For food preparation and material selection, CRI around 90 helps preserve the appearance of ingredients, cabinet finishes, and countertops. A low-CRI fixture may make a carefully chosen surface look dull or inaccurate even when the light seems bright enough.
Choose the form that fits the cabinet run
Integrated LED bars provide a protected, clean profile and consistent output across a straight cabinet run. Flexible tape works better where the cabinetry includes corners, interruptions, or custom millwork, provided it has a suitable driver and is installed in a way that controls glare.
Plug-in bars make sense for a retrofit where opening walls isn't practical. Hardwired fixtures create a cleaner permanent result, particularly during a remodel. Tape is the most adaptable visually, but it demands more planning around the driver, channels, connectors, and wire paths.
| Fixture Type | Best For | Typical Wattage | Mounting Style |
|---|---|---|---|
| Integrated LED bar | Even task lighting across straight runs | 5W–11W | Plug-in or hardwired |
| Flexible LED tape | Custom cabinetry and concealed profiles | Project dependent | Adhesive or channel mounted |
| Puck fixture | Focused pools or accent areas | Project dependent | Surface mounted or recessed |
| Linkable LED fixture | Retrofit runs and continuous coverage | Project dependent | Clip mounted, plug-in, or hardwired |
Product education such as how to choose light bulbs can help coordinate the under-cabinet CCT and CRI with lamps elsewhere in the room. That coordination matters. A warm kitchen with one conspicuously cool strip can look disconnected even when every fixture operates correctly.
Wiring and Dimmer Compatibility Essentials
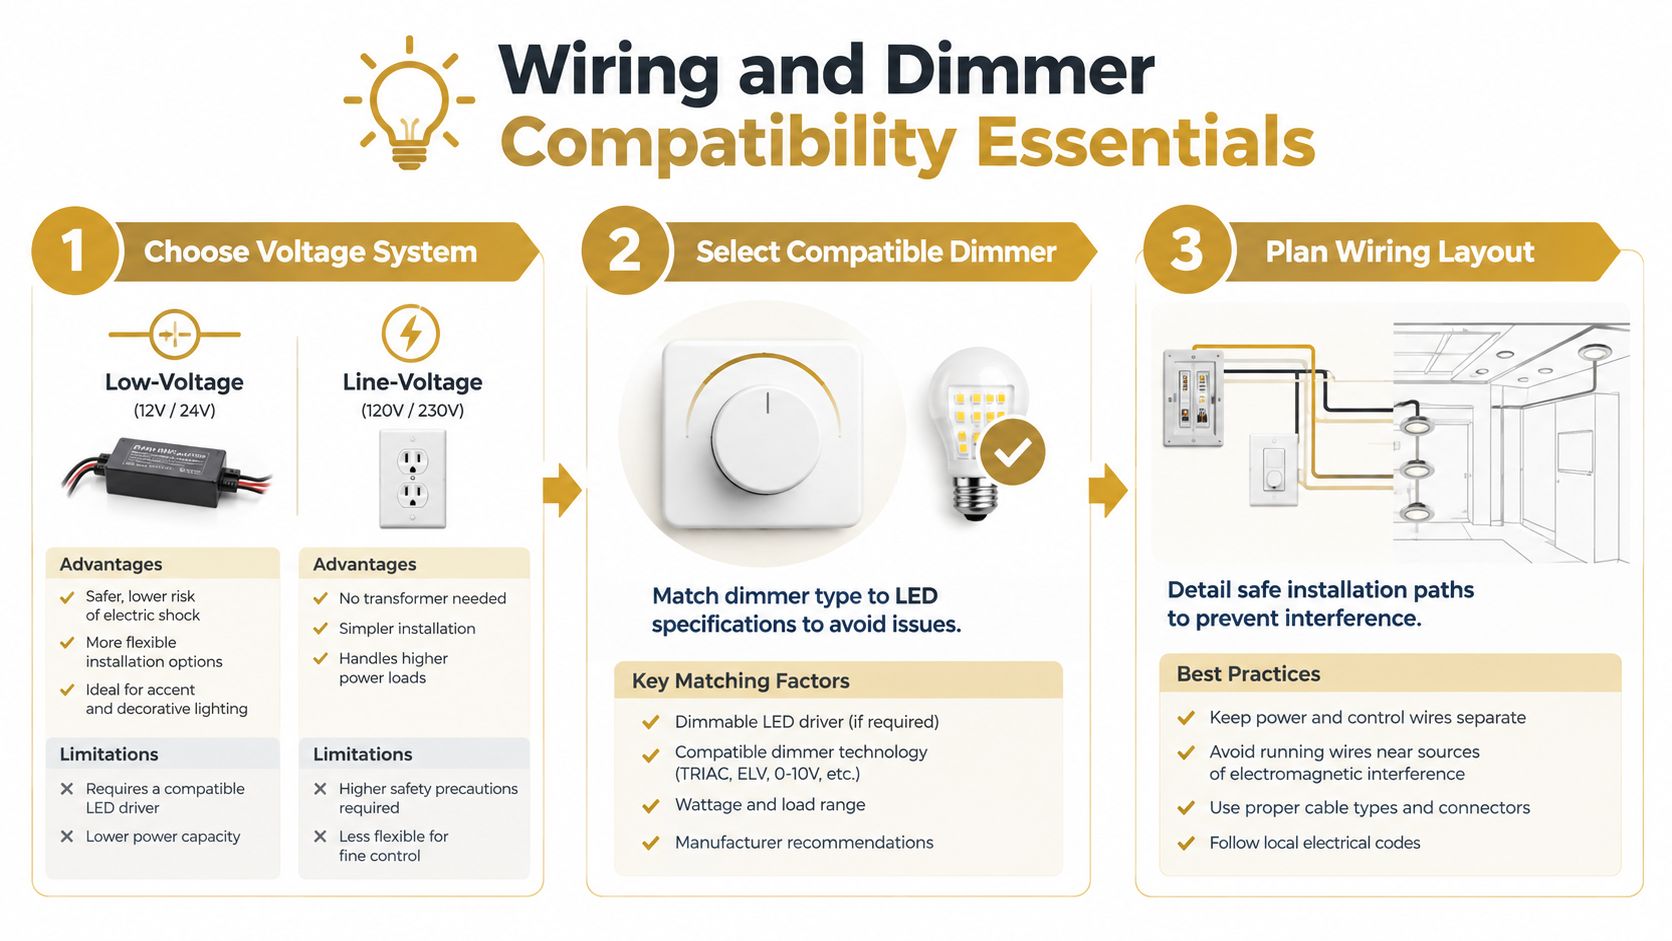
Electrical planning determines whether a system remains reliable after the cabinets are closed and the backsplash is finished. The first decision is whether the installation uses line voltage at the fixture or a low-voltage system with a remote driver.
Low-voltage systems typically convert standard 120V household power to 12V or 24V DC, as explained in this overview of safe under-cabinet wiring. They offer flexible fixture placement and compact runs, but the driver location and low-voltage wiring paths must be planned before installation. Line-voltage fixtures can simplify some layouts, but they still require a compatible LED control and appropriate electrical work.
Size the driver before connecting the run
For LED tape, the connected wattage must be calculated across the entire run, including linked sections. A practical checklist recommends choosing a driver rated for the total connected load plus 20% headroom, a rule described in this LED driver sizing guide. That margin helps prevent an overloaded supply from becoming the hidden cause of unstable output.
The driver also needs to remain accessible. Suitable locations can include an accessible cabinet, pantry, utility area, basement, or space above the cabinets, provided the installation complies with applicable electrical requirements and doesn't bury a component that may need service.
Line-side wiring should reach the driver location before low-voltage runs are installed. Appliance circuits aren't a substitute for a properly planned lighting feed, so the electrical layout should be coordinated with the electrician and cabinet installer during the rough-in stage.
Match the control to the system
A dimmer's label isn't enough. The control must match the driver technology, voltage system, and connected load. Depending on the installation, the appropriate control may be a forward-phase or TRIAC dimmer, an ELV or reverse-phase dimmer, or a magnetic low-voltage dimmer.
An incandescent-style control can produce flicker because it doesn't manage the LED driver correctly. Linked runs can create a second problem when their combined wattage exceeds the driver or falls outside the dimmer's intended operating range.
Practical rule: Confirm the fixture voltage, driver type, dimmer rating, and combined load before purchasing the complete system.
The guide to dimming LED lights is useful when reviewing low-end trim and LED-rated controls. A well-matched system should dim continuously across its intended range, without visible flicker or an abrupt shutoff near the bottom.
Test before final mounting
A reliable test sequence is straightforward:
- Connect one fixture or a short representative run.
- Set the dimmer to full output and check for stable light.
- Reduce brightness gradually through the middle range.
- Test the low end for flicker, buzzing, or a sudden dead zone.
- Let the system operate long enough to reveal heat or driver instability.
- Expand the installation only after the first test passes.
This approach costs little and prevents a full kitchen from being mounted around a control combination that was never compatible.
Placement and Design Strategies for Kitchen Lighting
Under-cabinet fixtures work best when their position directs light onto the counter rather than into the eyes of someone standing at the island. Standard design practice places fixtures roughly 2 inches back from the front edge of the cabinet underside, close enough to the front that light falls on the counter rather than the backsplash. Some installers mount closer to the back of the cabinet instead, which can also work provided the fixture is well shielded from glare on glossy counters and backsplashes — but front-edge placement remains the safer default for most kitchens.
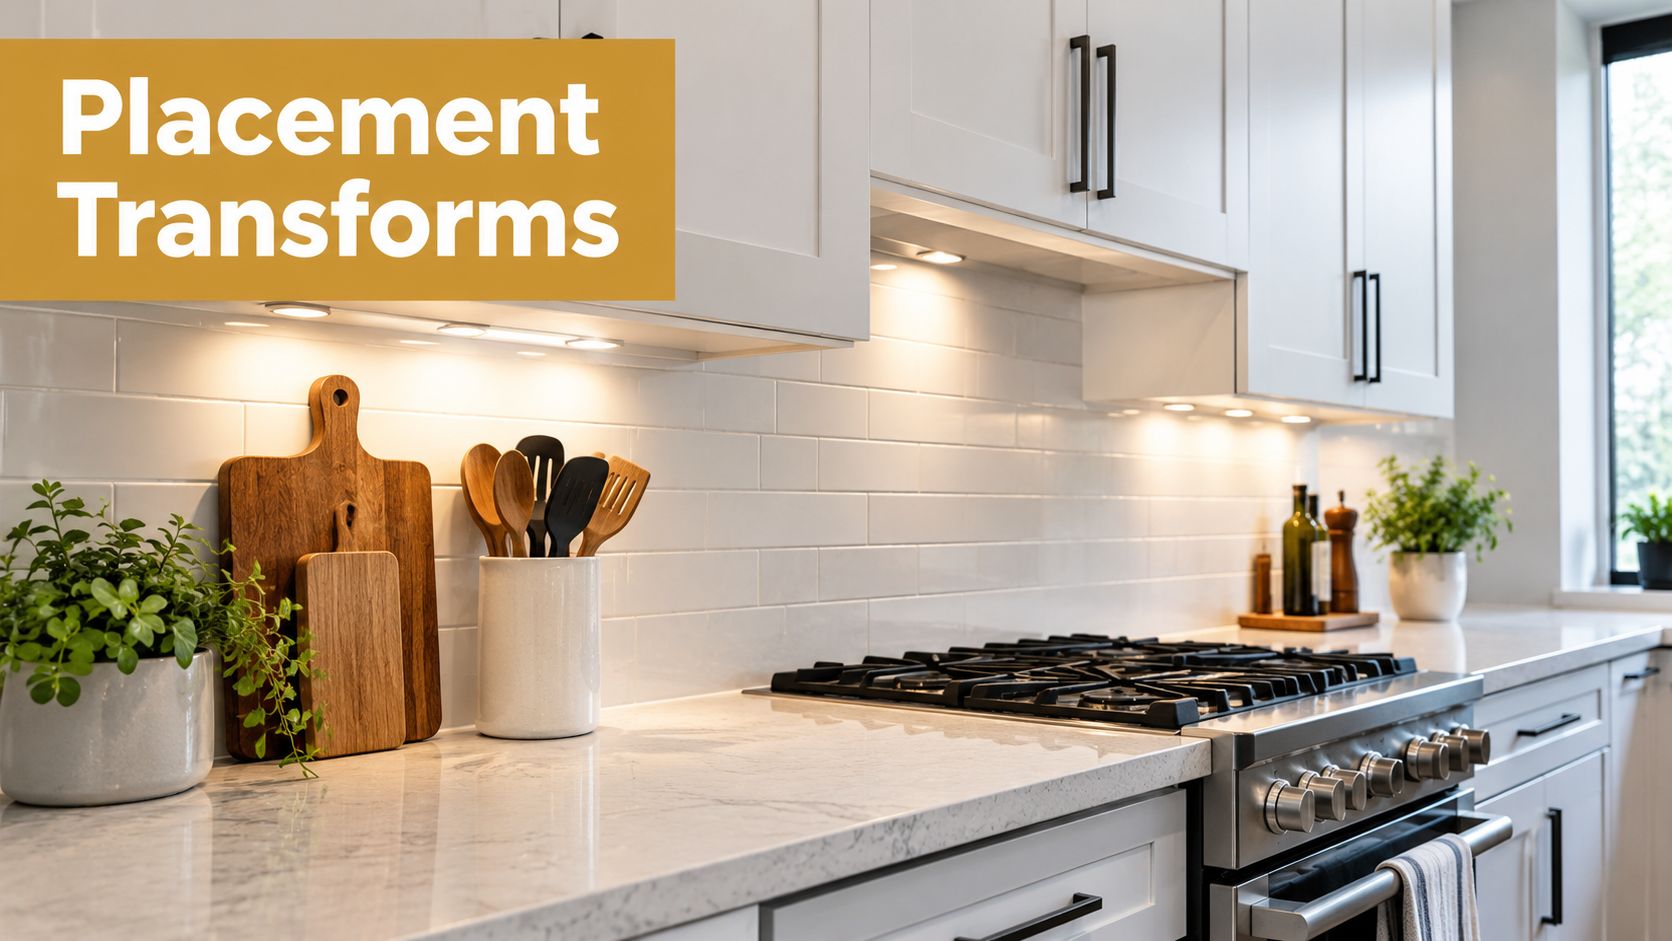
Placement becomes especially important with reflective stone, polished tile, and glossy cabinet finishes. A fixture mounted too far toward the wall can create a bright backsplash and leave the front of the counter less useful. A fixture mounted too close to the front edge may become visible from normal sightlines and produce glare.
Build layers instead of asking one fixture to do everything
A comfortable kitchen usually needs more than one lighting layer:
- Under-cabinet light handles countertop tasks and reduces shadows from the upper cabinets.
- Pendant fixtures define an island or peninsula and provide a stronger visual focal point.
- Ceiling or flush fixtures provide general room illumination.
- Decorative sconces or accent fixtures add character where the architecture allows.
Dimming makes these layers easier to balance. Bright output supports morning preparation and detailed work. Lower output creates a calmer background while pendants or kitchen lighting layout guidance helps preserve the overall composition.
A small kitchen feels more spacious when the counter, backsplash, and room perimeter don't collapse into one harsh pool of brightness.
Coordinate CCT with surfaces and style
Warm white suits wood cabinetry, brass hardware, and traditional interiors. Neutral white often supports modern kitchens where clean visibility matters. Tunable systems add another layer of control by allowing the homeowner to choose the color temperature for task use and then soften it for evening ambience.
The design should also reflect the cabinet style. A slim integrated bar can disappear beneath minimalist cabinetry, while a carefully concealed tape system works well in custom millwork. In a more traditional room, the under-cabinet fixture should support the larger language established by the room's pendants, chandeliers, hardware, and finishes rather than compete with them.
Electrical planning deserves the same attention as finish selection. A resource on kitchen and bathroom lighting circuits can help homeowners understand why control zones and wiring routes should be considered before the walls and cabinets close.
The following visual shows how system planning and placement connect in a complete installation.
Troubleshooting Common Installation Problems
A flickering under-cabinet light isn't automatically a bad fixture. The faster diagnostic path starts with the system, because the driver, dimmer, and load can create the same symptoms as a product defect.
Flicker usually points to configuration
Start with the dimmer. Confirm that it carries an LED rating and that its control method matches the driver. If the dimmer is designed for incandescent loads, replacement may solve the problem without changing the fixtures.
Next, check the total connected wattage. A linked run may exceed the driver's rating, or the dimmer may have an operating range that doesn't suit the installed LED load. Remove part of the run temporarily and test the remaining fixture. If the shorter run stabilizes, the problem is likely load or driver capacity rather than the light itself.
Buzzing needs a control check
Buzzing often indicates an interaction between the dimmer and driver. Reduce the output, listen for whether the sound changes, and check the manufacturer's compatibility information. A different LED-rated control, or the specified low-voltage control for the system, may be required.
Avoid assuming that a silent fixture at full output will remain silent while dimmed. The control range is part of the installation test, not an optional finishing check.
Dead zones reveal low-end or driver limits
A light that won't dim below a certain level may have a driver with a limited dimming band, an unsuitable dimmer, or a minimum load issue. Modern dimmable fixtures can reach as low as 1% of full brightness with the right driver and control pairing, according to this under-cabinet dimming guidance; many retail listings advertise a more conservative low end, since the true floor depends on the specific driver and dimmer combination installed. The advertised number only matters when the complete system actually supports it.
Use this decision path:
- Flicker at all levels: Check voltage, driver stability, and dimmer compatibility.
- Flicker only near minimum: Adjust low-end trim or use a control suited to the driver.
- Buzzing during dimming: Test a compatible LED control and inspect the driver pairing.
- Lights shut off in a linked run: Recalculate total wattage and verify the driver capacity.
- One fixture behaves differently: Isolate it from the run and inspect connectors, polarity, and the fixture itself.
- No response from the dimmer: Confirm that the fixture and control are intended to work together.
Pro-Tip: Keep one fixture accessible until the full dimming curve has been tested. Final mounting should be the last step, not the first.
A genuine product defect becomes more likely after the system has passed voltage, load, driver, dimmer, and connection checks. Documenting those checks gives an electrician or manufacturer a useful diagnostic record instead of a vague report that the lights “don't work.”
Choose the lighting layer that matches the way the kitchen is used, then verify the complete dimming stack before installation. Homeowners can review Golden Lighting's collections for complementary pendants, chandeliers, and outdoor lighting, while designers and contractors can coordinate finishes and controls across the broader project. Shop the collections or find a Golden Lighting showroom to select fixtures that bring reliable performance and a finished look to the space.











Share:
Bathroom Vanity Sizes How to Choose the Right Fit
LED Outdoor Ceiling Lighting: A Complete Buyer's Guide