
A lamp can have the right base, the right finish, and the right spot in the room, then still look wrong the moment the shade goes on. That's the pain point many decorators run into. The room is nearly there, but the lamp feels awkward, the light is harsh, or the whole piece looks undersized.
In my years in this business, I've learned that lamp shade measurements are where good intentions either turn into a polished result or a frustrating return. The shade isn't an accessory you add at the end. It controls proportion, softens the bulb, and determines whether the lamp belongs in the room.
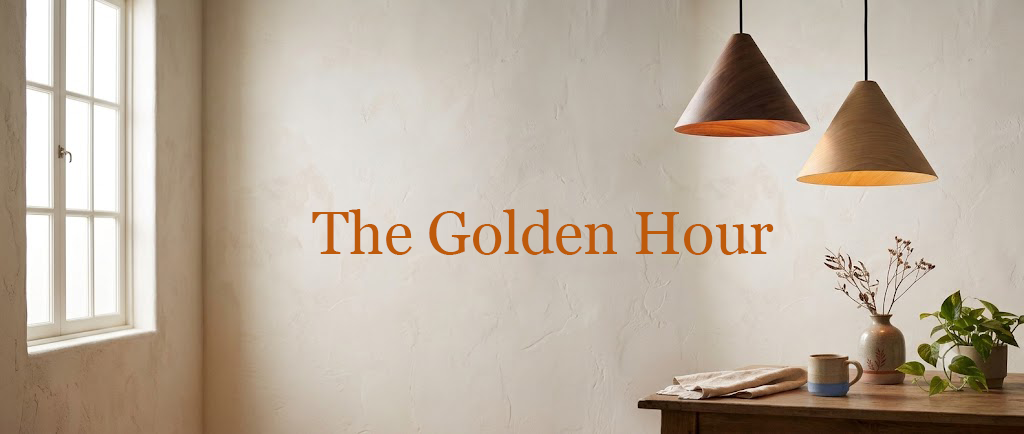
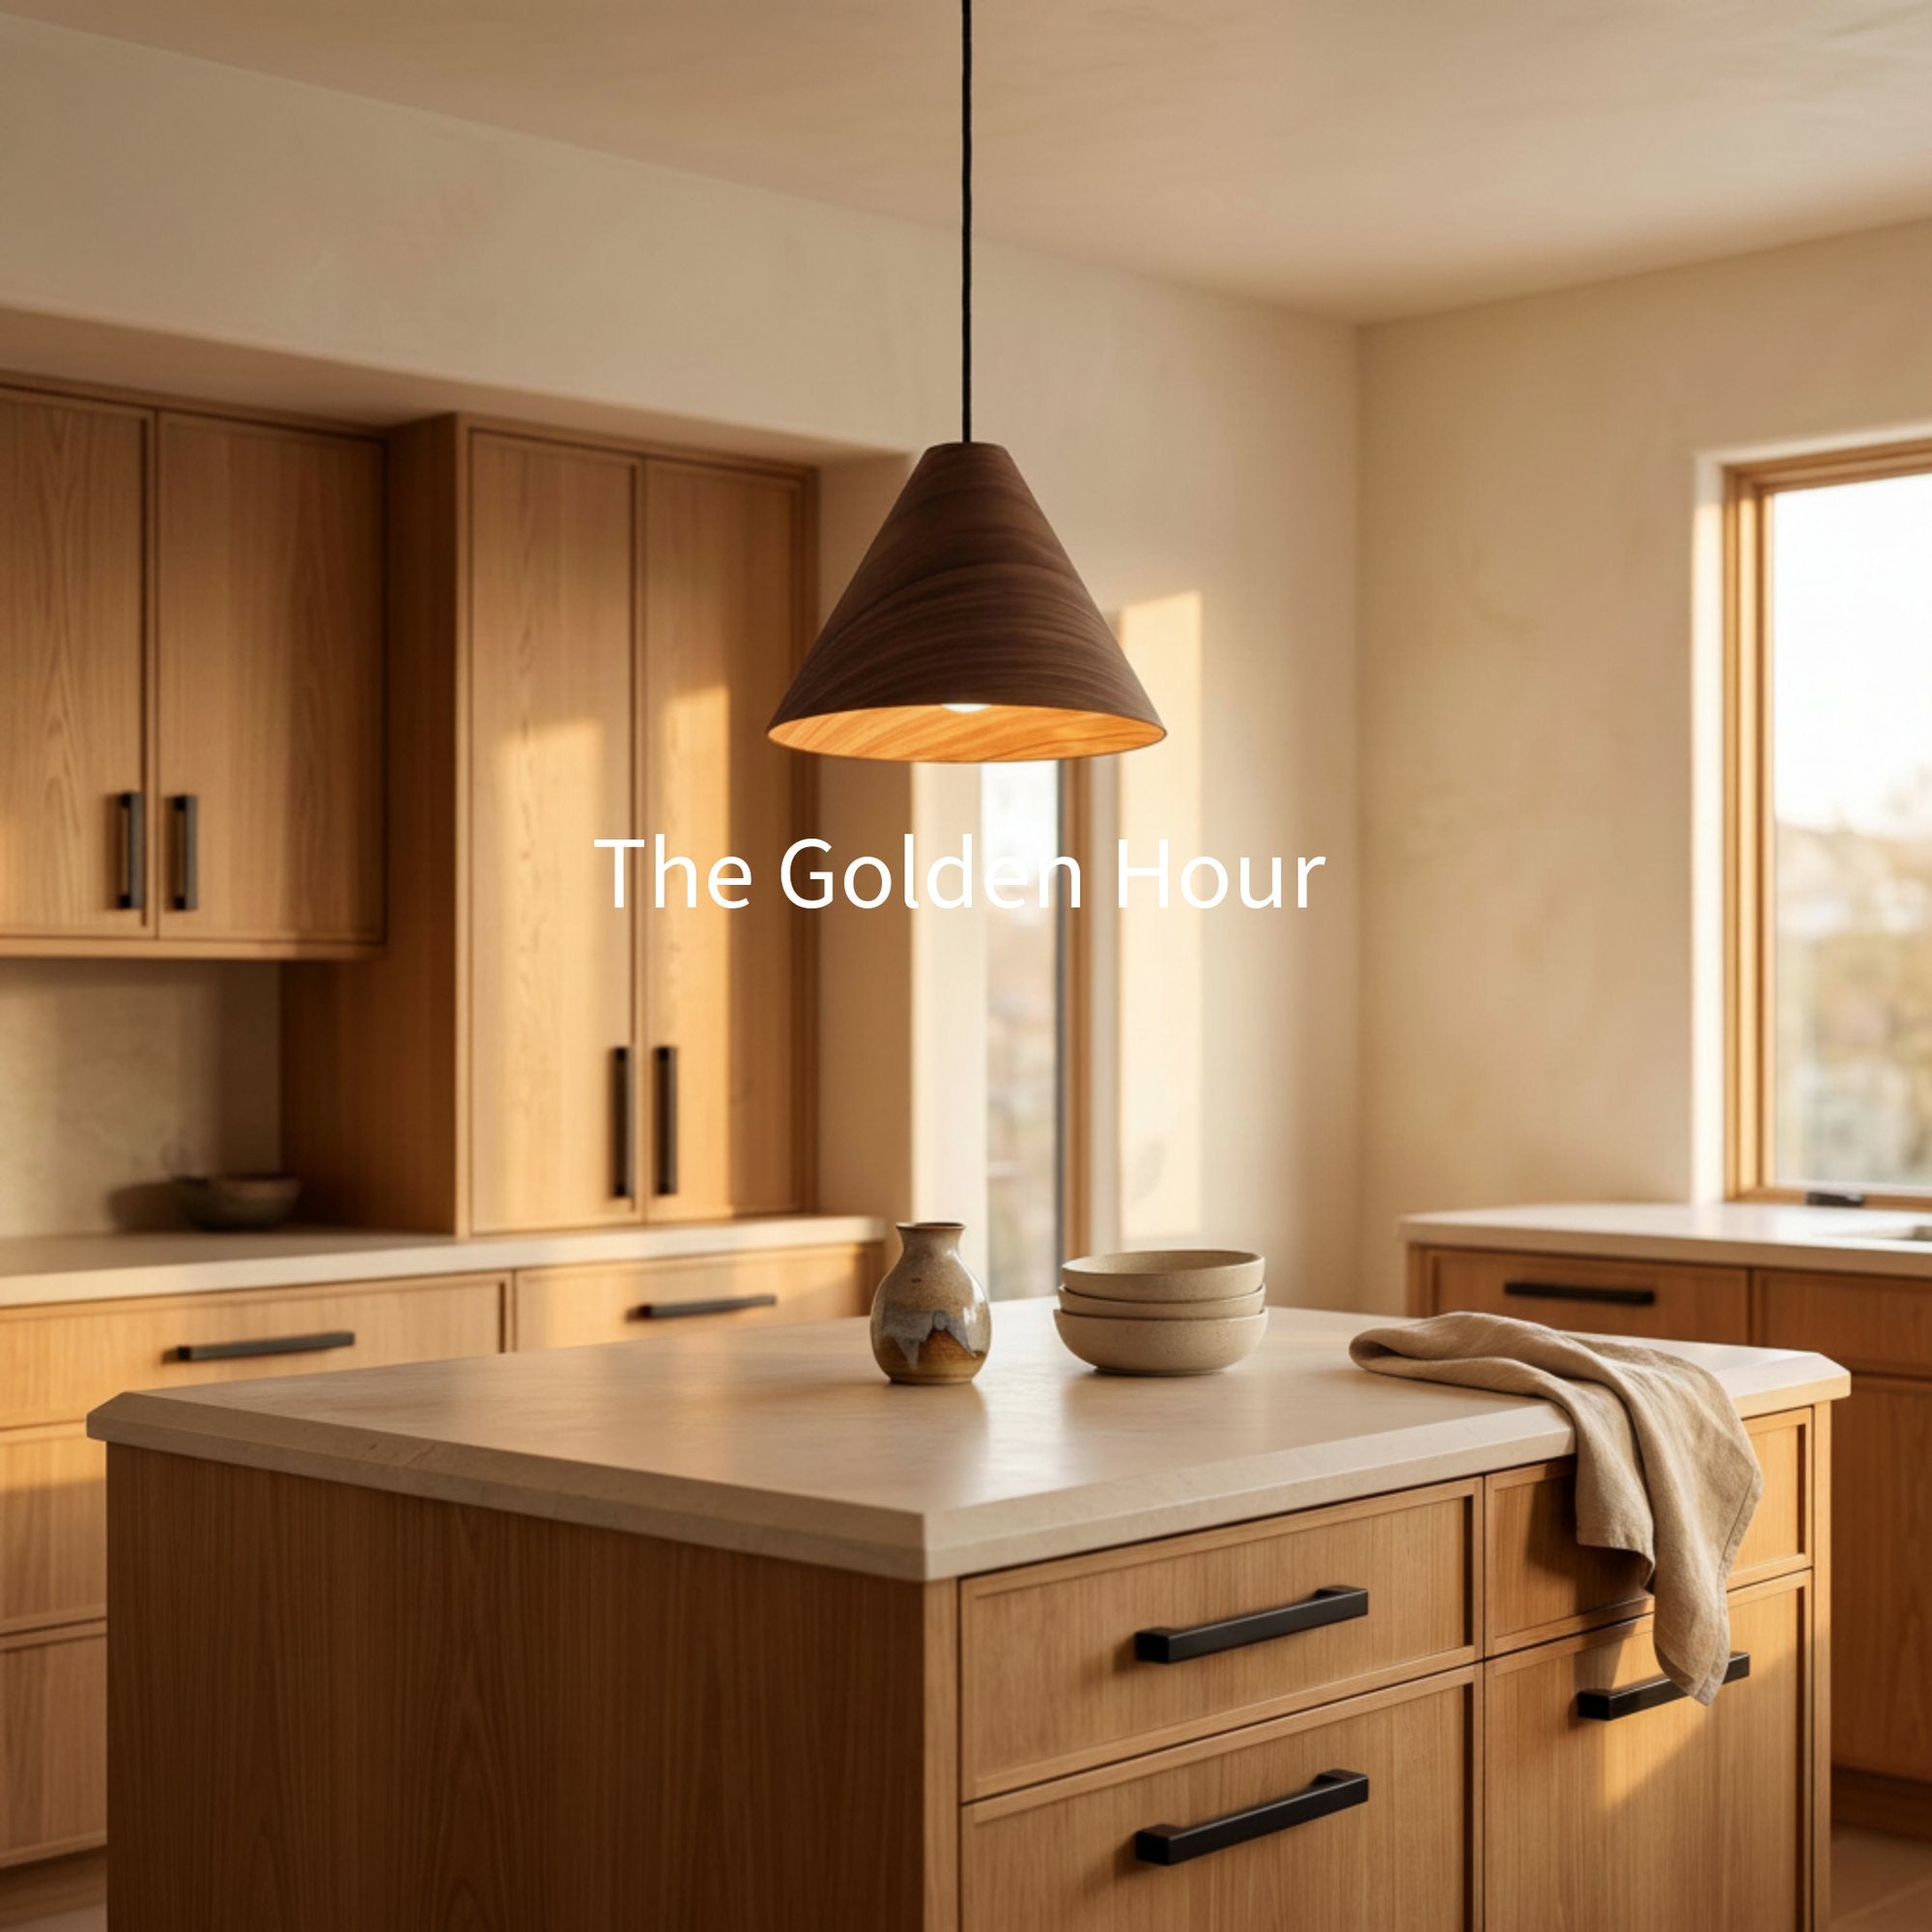
Why Your Lampshade Can Make or Break a Room
I see the same mistake in beautifully finished homes. A homeowner finds a lamp base they love, then chooses a shade by instinct alone. The result is usually one of two problems. The shade is too small, so the lamp looks pinched and exposed. Or it's too large, so the base disappears and the fixture loses its shape.
That imbalance affects more than appearance. It changes how light lands on a side table, how glare hits your eye from a reading chair, and how finished the room feels overall. If you've ever tried to improve a dim corner without wiring overhead lighting, the lamp shade does a lot of the heavy lifting in that solution, especially in layered spaces like those discussed in this guide to lighting a room with no overhead lighting.

A well-sized shade does three jobs at once:
- It completes the silhouette so the lamp reads as one designed object, not separate parts.
- It directs light properly by controlling how much illumination moves up, down, and outward.
- It protects the mood of the room by reducing visual tension and preventing exposed-bulb glare.
Practical rule: If the shade looks like an afterthought, the whole lamp will look like an afterthought.
What works is proportion with intention. What doesn't work is guessing from memory, shopping by a single photo, or assuming any shade with the same color or fabric will fit. The best lamps always feel calm and resolved. That starts with measurement.
Understanding the Language of Lampshades
Before you can size a shade properly, you need to read the measurements the way the trade does. This language has been stable for a reason. It allows retailers, manufacturers, and specifiers to describe shape and fit with consistency.
According to Sorella Glenn's guide to measuring lamp shades, lampshade measurements follow conventions established in the early 20th century, and the industry refers to shades by their bottom diameter as the primary sizing metric. That system dates to the 1920s, and a shade labeled 8" x 16" x 10" is classified as a 16-inch shade because the bottom diameter is what defines the size.

The four measurements that matter
Top diameter is the width across the opening at the top of the shade. This tells you how open or narrow the shade will feel near the bulb and affects how much light escapes upward.
Bottom diameter is the width across the shade at its widest point, usually the bottom. This is the main size reference because it governs visual scale and the spread of light over the surrounding surface.
Slant height follows the side of the shade from top edge to bottom edge. For tapered shades, this is the number that preserves the intended shape.
Vertical height measures straight up and down from top to bottom. It's useful on drum and cylinder shades, but it won't tell the full story on a tapered profile.
Why bottom diameter leads the conversation
Bottom diameter became the industry shorthand because it does the clearest job of communicating what the eye sees first. When a shade sits on a lamp, the lower edge defines the fixture's footprint. It tells you whether the lamp will feel balanced, top-heavy, or too tight for the base.
That's why professionals don't order by fabric alone. We start with the lower width, then confirm the other dimensions support the look and the hardware.
The bottom edge is what anchors the lamp visually. If that line is wrong, everything above it feels wrong too.
Why slant height matters more than people expect
A tapered shade can look elegant in a product photo and still fit poorly in person if you rely on vertical height alone. Slant height reflects the actual geometry of the shade. It's the measurement that helps preserve shape, align hardware correctly, and avoid a shade that looks squat or stretched once installed.
If you're shopping online, this is the dimension many first-time buyers skip. It's also one of the reasons a replacement can arrive looking close, but not right.
The Correct Way to Measure Your Lamp and Shade
Precision matters here. Industry experts report that 68% of returns in major U.S. lighting retailers come from sizing mismatches caused by inaccurate measurements, and Lowe's lamp shade measuring guide notes that using a precise method can improve first-fit success from 65% to over 92%. The standard nomenclature is Top Diameter x Bottom Diameter x Slant Height.

The method isn't complicated, but the technique has to be clean. A soft tape measure, a flat surface, and a written record of every number will save you from buying twice.
Measure the shade first
Start with the shade off the lamp and set it on a flat surface.
- Measure the top diameter by placing the tape straight across the center of the top opening from edge to edge.
- Turn to the bottom diameter and measure across the widest part the same way.
- Measure slant height by running the tape along the outside slope from the top edge to the bottom edge.
That third step is where people go wrong. On a tapered shade, measuring straight up and down gives you a different number than measuring along the side, and that difference changes how the shade sits and looks.
A useful parallel is room planning. When people buy furniture without measuring circulation paths, they end up with pieces that technically fit but function badly. The same discipline shows up in Room Sketch 3D room measurement steps, and that mindset applies here too. Measure the actual condition, not the one you assume.
Measure the lamp base with the shade removed
With the lamp bare, take two key measurements:
- Base height from the bottom of the lamp to the top of the socket
- Base width at the widest point
If the base is square, don't ignore the diagonal. The eye reads the fullest width, not just one face. If the lamp has prominent shoulders or a broad body, that widest point matters more than the neck.
A lamp base should never be guessed from memory. Measure the body that actually carries the visual weight.
This is also the right moment to note the bulb position. You want the eventual shade to sit low enough to soften glare and high enough to avoid feeling swallowed.
Watch the common errors
These are the mistakes that create bad replacements:
- Measuring while the shade is still mounted because the harp and finial get in the way of a true edge-to-edge reading
- Reading vertical height on a tapered shade when the listing calls for slant height
- Ignoring the socket top when measuring lamp height, which throws off proportion
- Trusting old order details instead of rechecking the existing lamp
Keep a simple measurement record
Use a note on your phone or a product worksheet and record:
- Shade dimensions as top x bottom x slant
- Lamp base size as widest width and height to socket top
- Hardware details like fitter type and existing harp size
That record is what separates a confident purchase from a hopeful one.
Applying the Golden Rules of Proportion
Once the measurements are accurate, proportion becomes straightforward. The best lamp-and-shade combinations follow ratios that have held up for decades because they work visually from across the room and functionally at eye level.
For table lamps, we recommend a shade height of about 60 to 70% of the base's height. For a 20-inch tall base, a shade height of around 13 inches is ideal. For floor lamps, the proportion shifts to 25 to 40%. These relationships have been a cornerstone of lighting design since the mid-20th century.
The ratio that solves most sizing decisions
In practice, the most dependable rule is this. The shade bottom width should be roughly twice the width of the lamp base.
If the base is 10 inches wide, start your search around a 20-inch bottom diameter. That ratio usually gives the lamp enough presence without making it feel swollen. It also helps the light spread more naturally over the table or surrounding area.
A good furniture room follows similar logic. A coffee table that's too tiny or too oversized throws off the seating group, which is why proportion guides like this coffee table size guide are so useful. Lamps behave the same way. Scale is what makes separate objects feel intentionally related.
Lampshade sizing cheat sheet
| Fixture Type | Shade Width Guideline | Shade Height Guideline |
|---|---|---|
| Table lamp | Bottom width about twice the base width | About 60 to 70% of base height |
| Floor lamp | Broad enough to feel substantial on the stem and base | About 25 to 40% of base height |
| Taller statement lamp | Bottom width should visually stabilize the base | Stay near the established proportion rather than forcing a short shade |
What proportion fixes and what it can't
Good proportion solves the problems people notice first:
- Undersized shades make the lamp look exposed and nervous.
- Oversized shades hide the base and flatten the fixture's personality.
- Short shades can leave the bulb and socket too visible.
- Tall shades can make the lamp look top-heavy.
What proportion can't fix is the wrong hardware. A beautifully sized shade with the wrong fitter will still fail at installation, which is why mechanical fit matters just as much as visual fit.
Pro-Tip
When you're between two sizes, choose the one that preserves balance from across the room, not just at arm's length. Lamps are read at a distance first. That's the professional test.
For larger rooms, don't size lamps in isolation. Keep them in the same visual family as the rest of the fixture plan. If you're balancing table lamps with pendants, sconces, or a statement chandelier, this broader guide to sizing and placing your light fixture helps keep the room coherent.
Ensuring a Perfect Fit with Harps and Fitters
Many shade replacements fail at this stage. The measurements can be correct, the proportions can be right, and the shade can still be unusable because the hardware doesn't match the lamp.
Most guides spend plenty of time on top, bottom, and height, but Lamps Plus notes in its lamp shade sizing article that the relationship between shade dimensions and the harp is often omitted, even though it's a frequent source of customer frustration and returns. Fitter type and harp height are essential, especially when replacing shades on vintage lamps or mixing brands.

Know your fitter before you shop
A spider fitter is the most common. It sits on top of the harp and secures with a finial.
An uno fitter attaches directly to the socket assembly. It won't behave like a spider shade, and you can't assume the two are interchangeable.
A clip-on fitter clips directly to the bulb. It's usually reserved for smaller shades and specific lamp types.
If you're unsure what you have, remove the shade and look at how it attaches. Don't rely on product photos from memory.
Harp height changes how the shade sits
The harp is the U-shaped metal support around the bulb. Its height determines where the shade lands in relation to the socket, bulb, and base. Even a well-proportioned shade can sit too high or too low if the harp is wrong.
That matters for two reasons:
- Visual alignment because the shade should hide the hardware cleanly
- Light control because the bulb position affects glare and diffusion
If you're dealing with a lamp that needs an adapter or a hardware conversion, a resource like this guide to lamp shade adapters and fittings can help clarify the options before you order.
A compatibility checklist that works
Before buying a replacement shade, confirm these points:
- Fitter type matches your lamp hardware
- Harp height places the shade where it belongs visually
- Shade shape clears the bulb and supports the intended silhouette
- Socket area won't force the shade too high or too low
If a shade looks perfect on paper but ignores the fitter, it isn't the right shade.
This is especially important with older lamps. Vintage fixtures often have nonstandard combinations that look simple until the new shade arrives and won't seat properly.
From Measurement to Masterpiece with Golden Lighting
Finding the right shade is often assumed to be hit or miss. It isn't. The misses usually come from three avoidable errors. Poor measurements, weak proportions, or hardware that was never checked.
Once you know how to read lamp shade measurements, evaluate the base correctly, and confirm the fitter and harp, the process becomes much more precise. You stop shopping by hope and start selecting with intent. That's how professionals work, and it's why the final result feels settled the moment the lamp is assembled.
For homeowners who want flexibility, creatives who want a more personal look, and professionals specifying across multiple rooms, the smartest move is choosing a lighting partner built for mix-and-match decisions and engineered consistency. Golden Lighting offers that range, from customizable options in YEP by Golden to the refined silhouettes of Ziva by Golden for more elevated projects.
If you're ready to stop guessing and start choosing with confidence, explore Golden Lighting for design-forward fixtures, customizable collections, and practical resources that help you get proportion, fit, and finish right the first time.


Share:
Lamp Shade Adapter Selection & Buying Guide
Elevate Your Home With Farmhouse Exterior Lighting