
When you find the perfect lamp base and shade, but they don't fit together, a lamp shade adapter is essential. This small piece of hardware ensures compatibility, maintains your design vision, and extends the life of your lamp.
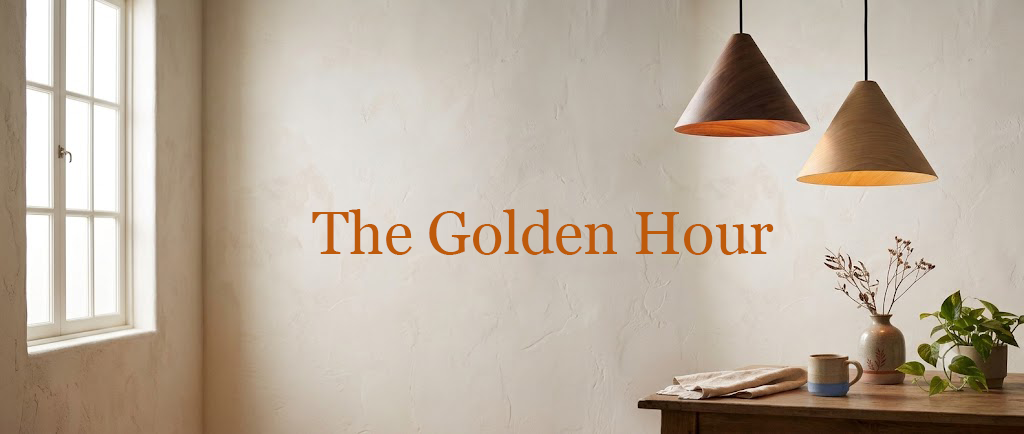
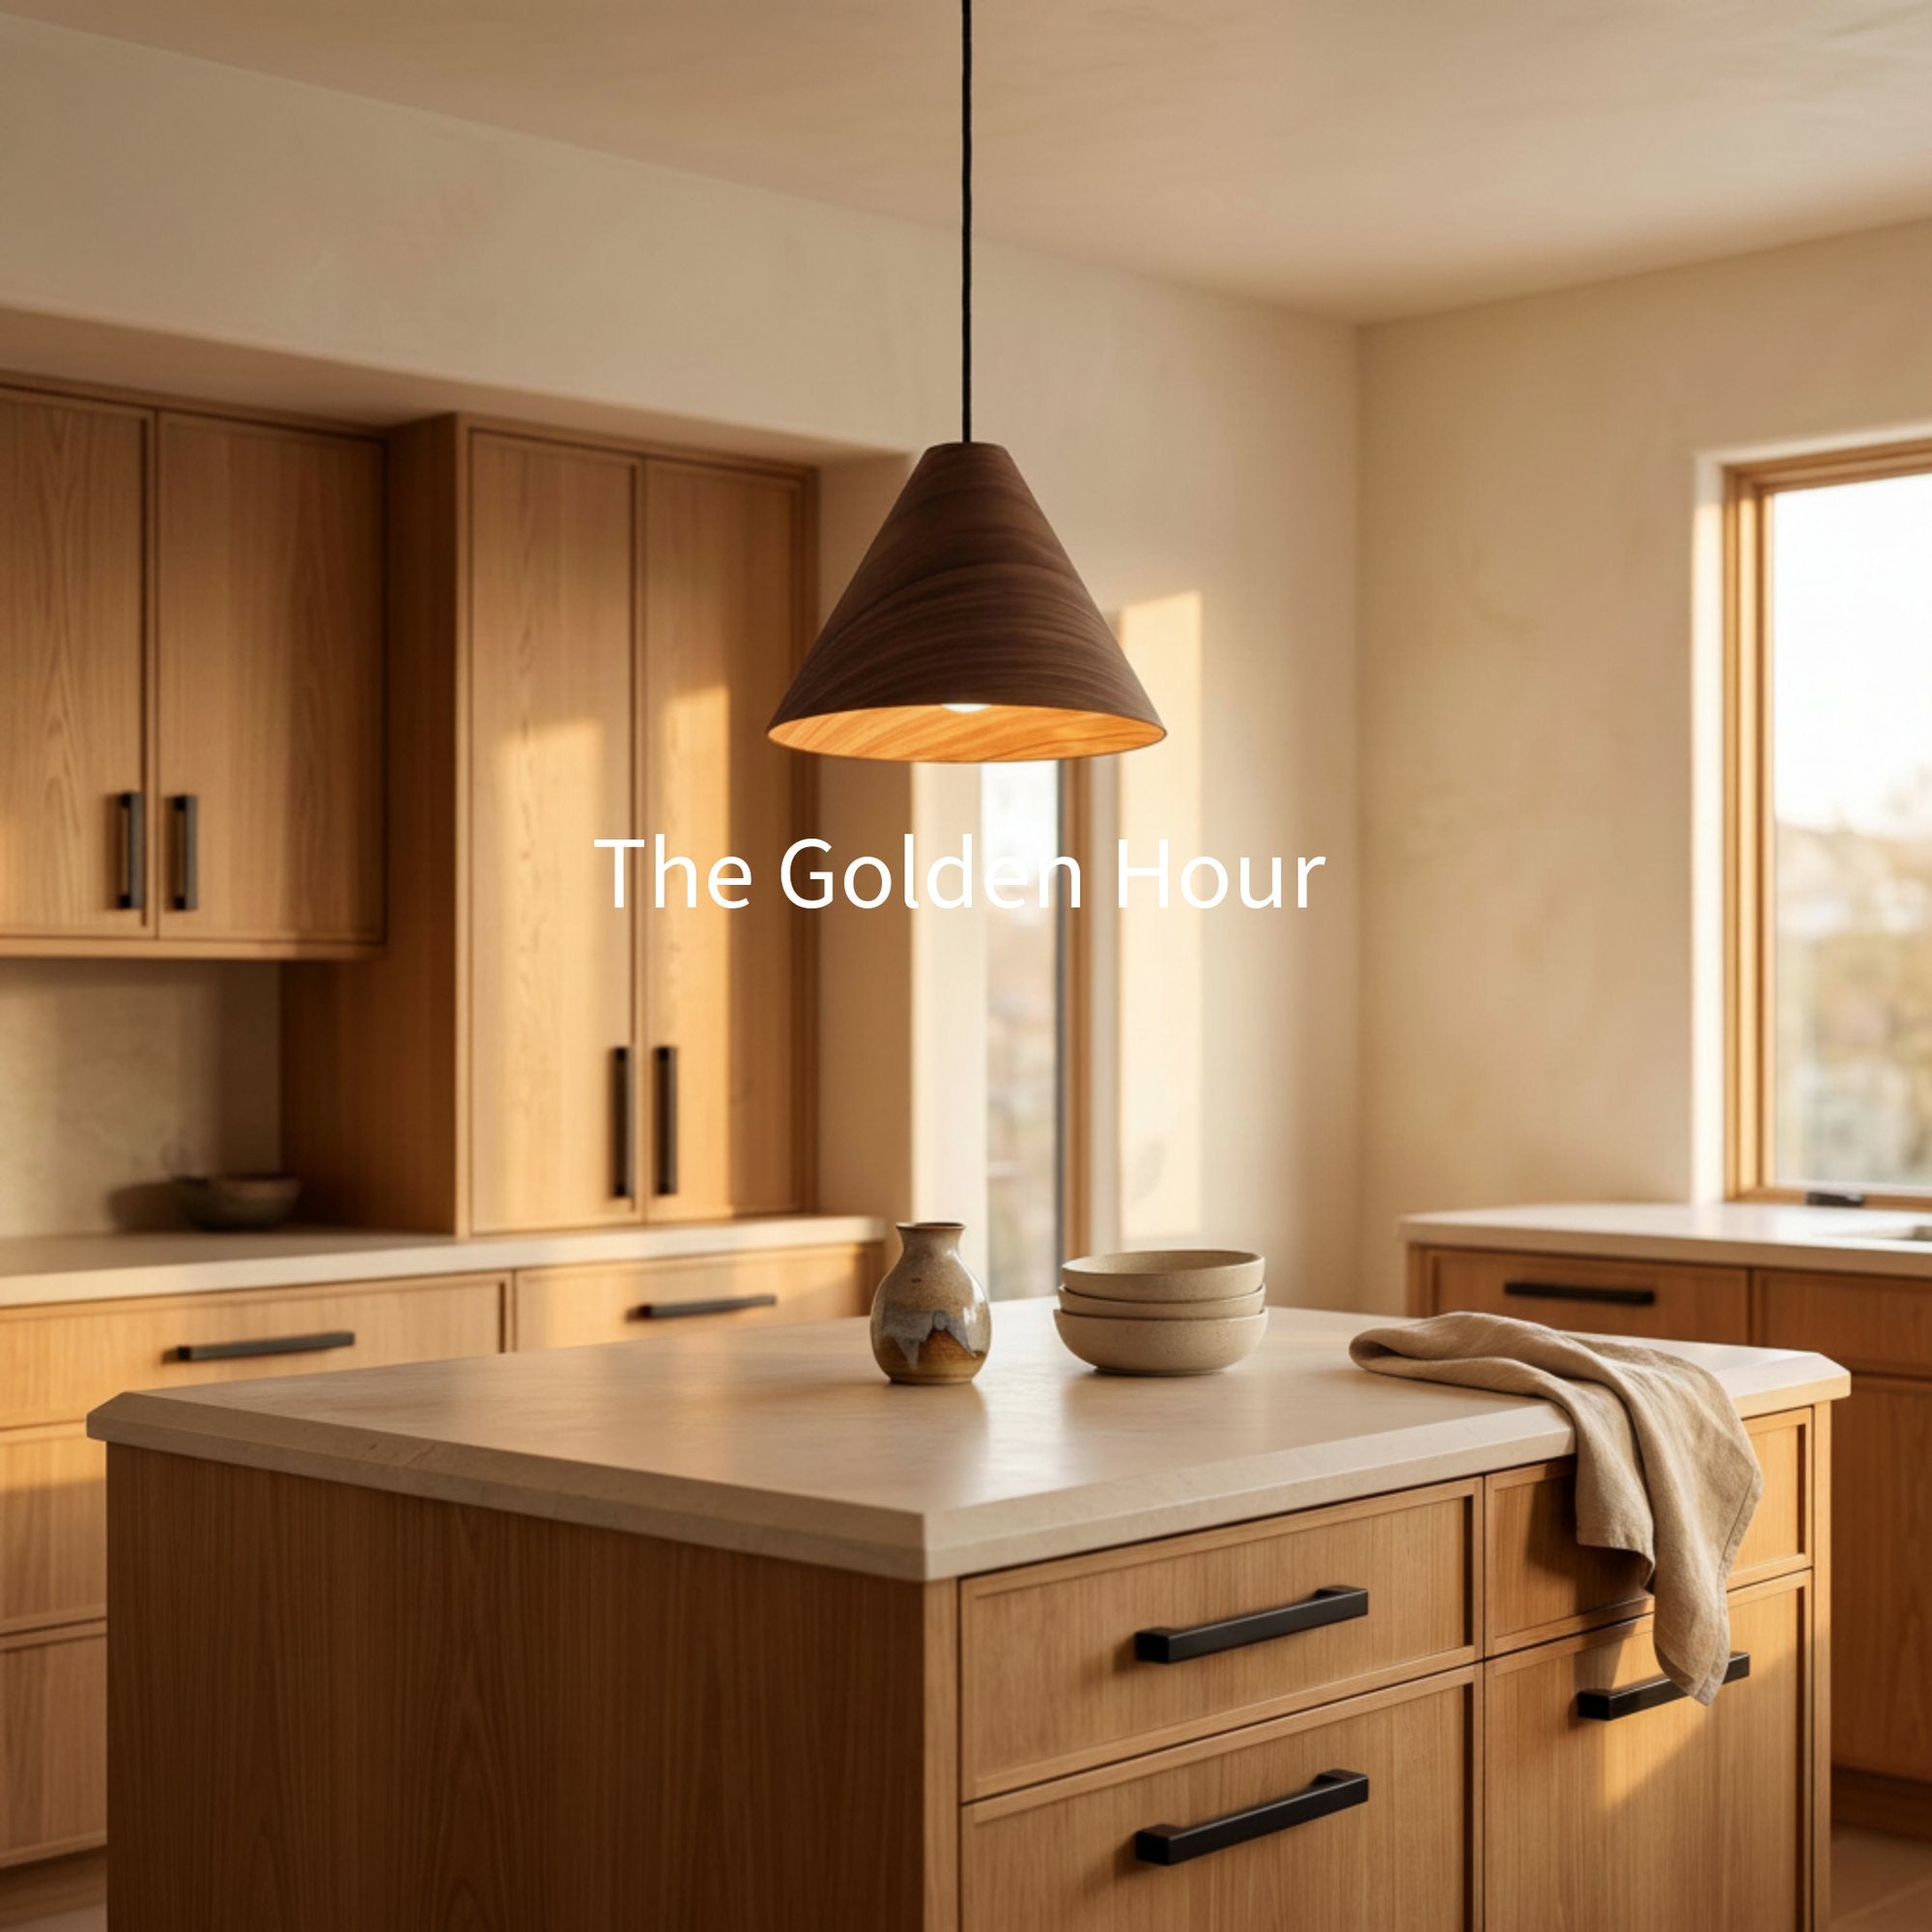
The Small Part That Makes a Big Difference
A lamp shade adapter is crucial when your lamp components don’t naturally fit. It's the difference between using your favorite lamp or reconsidering the entire setup.
We see this often: a homeowner buys a vintage base, a designer selects a modern shade, or a renovator updates an old fixture. The style is right, but the connection isn't.
Why This Tiny Part Matters
The correct adapter:
- Creates compatibility between mismatched bases and shades
- Maintains your intended look
- Allows reuse of existing pieces
Good lighting design often relies on small details, like choosing the right adapter.
A Piece of Lighting History
Adapters became necessary with the advent of electric light, bridging the gap between old and new lighting styles.
Types of Lamp Shade Adapters
Most fitting issues arise from incorrect identification, as shades do not attach uniformly.
The Three Common Adapter Types
Spider Fitter
A spider fitter uses a harp and finial to support the shade above the socket. It's common for table and floor lamps, offering stability and flexible shade changes.
Uno Fitter
An uno fitter connects directly at the socket, typically without a harp. Precision is key due to its compact design.
Clip-On Fitter
A clip-on fitter attaches directly to the bulb, suitable for small, lightweight shades, but not for heavier shades.
Practical rule: Avoid clip-on solutions for heavier shades.
Technical Compatibility
Adapters work with standard socket types like E26, E27, and E12, enabling shade conversion and retrofitting.
Quick Reference
| Adapter Type | Best For | Requires | Pro-Tip |
|---|---|---|---|
| Spider | Traditional lamps | Harp and finial | Provides stable support and easy swaps |
| Uno | Direct socket support | Correct fit | Check opening diameter before buying |
| Clip-On | Lightweight shades | Compatible bulb shape | Best for decorative, not heavy shades |
What Works and What Doesn’t
- Spider: Ideal for flexibility and classic proportions
- Uno: Best for lamps designed for this attachment
- Clip-on: Suitable for light, small shades
- Clip-on: Not suitable for heavy shades
- Any adapter: Fails if the fitter type is guessed
How to Measure for a Perfect Fit
Most project delays come from incorrect measurements, not poor taste or product choice.
Shade Measurement
Start with the shade to determine the needed connection.
- Top opening diameter
- Fitter style
- Shade depth and shape
Lamp Measurement
After the shade, measure the lamp:
- Socket type
- Threaded area
- Harp height
- Bulb position
Common Measurement Mistakes
- Ignoring lamp hardware
- Measuring the wrong parts
- Assuming clip-ons solve all issues
- Overlooking bulb clearance
- Ignoring harp height
When Adapters Aren’t Enough
Sometimes, adapting isn’t the answer. If the shade is too heavy or the hardware is damaged, consider a different fitter or shade.
Selecting the Right Adapter
Once fit is confirmed, focus on quality. A good adapter is not just a temporary fix but part of the lamp’s long-term performance.
Material Choice
Metal adapters offer more durability than plastic, especially in areas with frequent use.
A well-installed shade remains level over time due to quality hardware.
Matching Adapter to the Project
For Homeowners
Choose stability over convenience for a lasting fix.
For Creative Renovators
Adapters allow for style flexibility without appearing makeshift.
For Design Professionals
Specification quality is key; the adapter should blend seamlessly.
Pro-Tip
Select hardware like cabinet components, prioritizing finish, stability, and performance.
Sourcing Components
Look for compatible parts that ensure the right fitter style and material for longevity.
Installation and Troubleshooting
Most installations are straightforward if measurements and fitter types are correct.
Installation Process
- Clear the lamp: Remove shade, bulb, and hardware.
- Properly seat the adapter.
- Test the shade for levelness.
- Check bulb visibility.
- Tighten carefully.
Common Issues and Solutions
- Wobbly shade: Incorrect adapter or poor fit.
- High shade: Wrong support method or harp relationship.
- Visible bulb: Adjust shade position or profile.
- Tilted shade: Check for uneven seating or bent hardware.
A quick visual walkthrough can help if you want to compare your setup process in real time.
Don’t judge the installation from directly above the lamp. Judge it from the chair, sofa, or doorway where people will actually see it.
Unlock Your Home's Potential with Perfect Lighting
A lamp shade adapter does more than connect parts. It protects a design choice that might otherwise be lost to a technical mismatch.
That’s why we take this hardware seriously. It supports reuse, personalization, and cleaner specification. It gives you room to pair the base you already own with the shade you want. It also helps preserve older pieces that still deserve a place in a well-designed room.
If you’re refining a room and thinking beyond the lamp itself, thoughtful ambient planning can also help brighten your living space in ways that make every fixture work harder and look better.
In the end, the right adapter is an investment in design integrity. It’s small, but it carries real responsibility.
Explore Golden Lighting for lighting ideas, curated collections, and practical guidance that can help you choose fixtures and components with confidence.


Share:
The North Star Guide to Bathroom Recessed Ceiling Lights
Lamp Shade Measurements for a Perfect Fit