Sizing a chandelier right comes down to a handful of formulas professional designers use in almost every home — start here and the two most common missteps, sizing too small and occasionally too big, take care of themselves.
Start with the room formula
Add your room's length and width in feet, and read the total as inches. A 12 × 15 foot dining room adds up to 27, so a chandelier around 27 inches in diameter is your minimum starting point. Think of this as the floor, not the ceiling — a fixture can grow from here, but going smaller almost always reads as undersized.
Then check it against your table
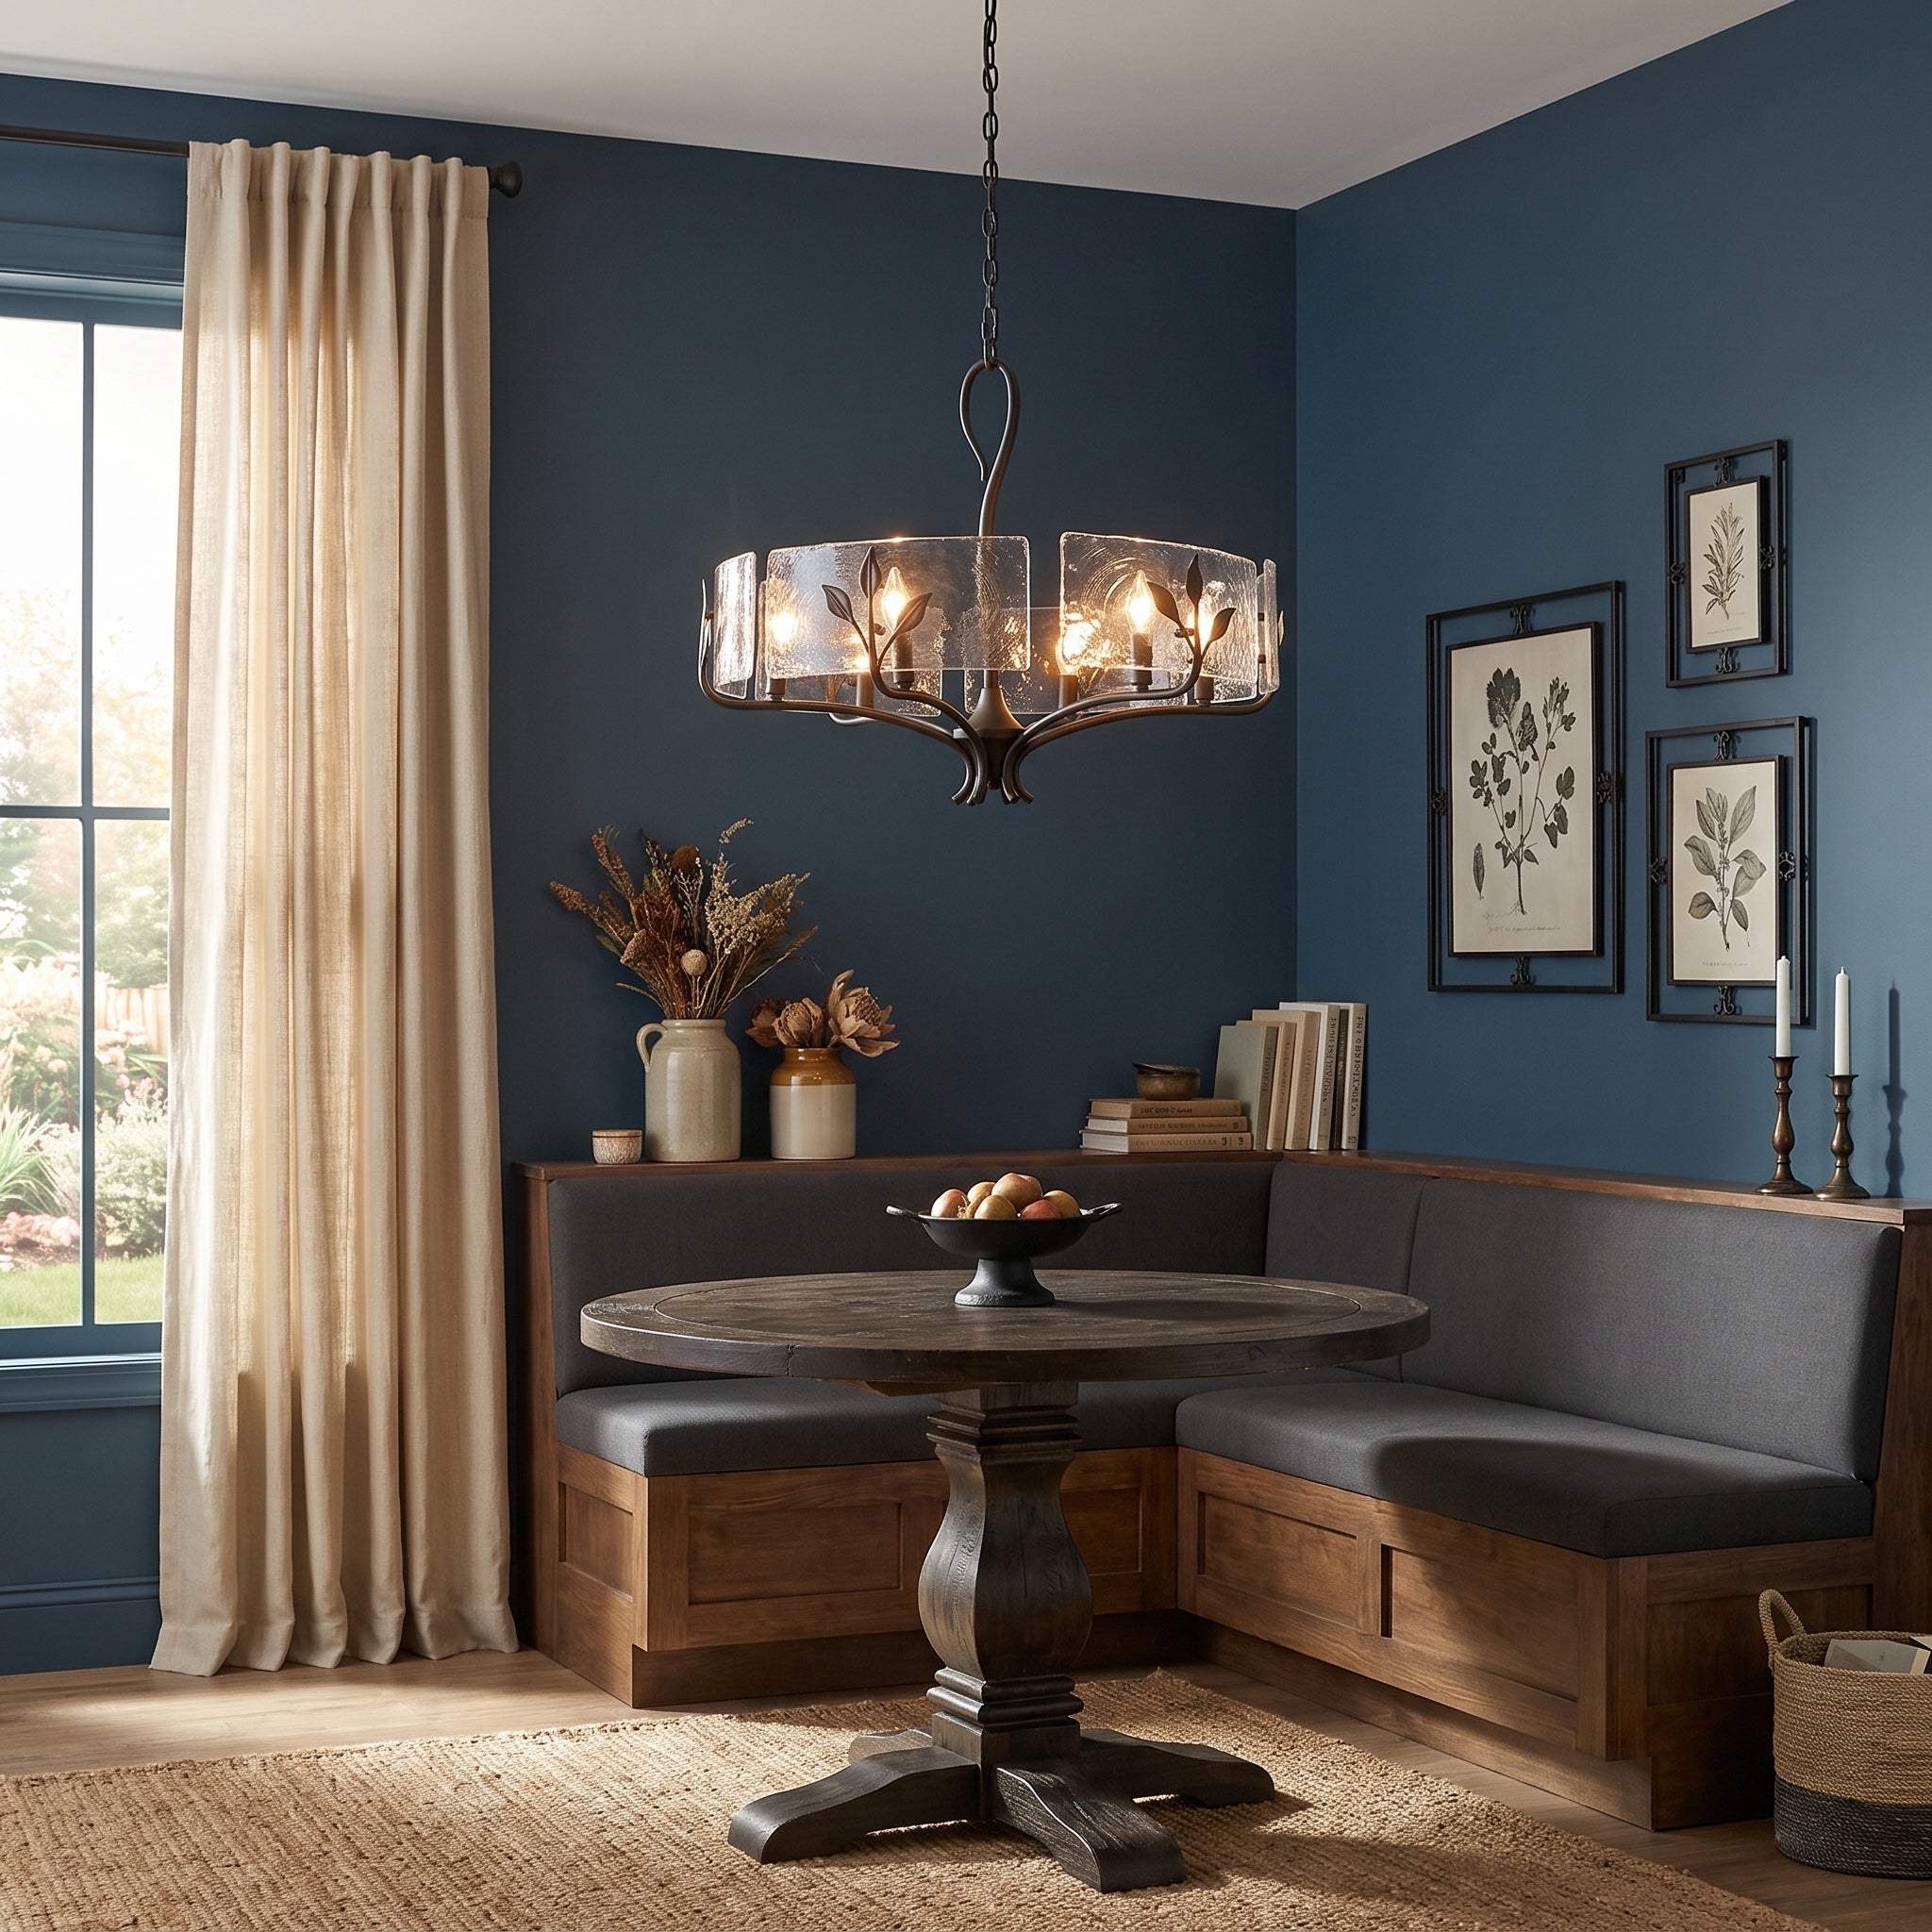
Over a dining table, the table — not the room — decides the size. The fixture should span one-half to two-thirds of the table's width. Over a 42-inch-wide table, that's a chandelier between roughly 21 and 28 inches across. If the room formula and the table rule disagree, trust the table: the fixture's job is to belong to the surface below it.
For linear and rectangular fixtures over a long table (or a kitchen island), use length instead: the fixture should run about half the length of the surface, with anywhere from one-third to two-thirds looking intentional.
Get the height right
Two numbers cover nearly every situation:
- Hang it 30 to 36 inches above the tabletop. Low enough to make the table glow, high enough to see your dinner guests.
- Anywhere people walk under a fixture, keep at least 7 feet of clearance from the floor to its lowest point. Code fixes this number — it's the difference between a statement piece and a forehead hazard.
For the fixture's own proportions, designers figure 2.5 to 3 inches of fixture height per foot of ceiling height — an 8-foot ceiling suits a fixture roughly 20 to 24 inches tall, while a 10-foot ceiling can carry 25 to 30 inches.
Center it on the table, not the room
If your table sits off-center — against a window, or pushed toward one end of an open floor plan — the chandelier follows the table's center every time, even when that's off-center from the room itself. And one comfort note the lighting standards call out: open, direct fixtures shouldn't sit directly over anyone's head at the table (per the IES residential lighting recommended practice, ANSI/IES RP-11-26) — proper centering over the table's middle takes care of this naturally.
Adjust for visual weight
The formulas assume an "average" fixture. An airy, open design — thin arms, clear glass, lots of negative space — can size up a step without overwhelming the room. A dense or ornate fixture should size down a step. Squint at the fixture: the more solid it looks, the more room it needs to breathe.
Where the grand fixtures belong
Two- and three-tier chandeliers are showpieces, and they need show spaces: grand foyers, vaulted ceilings, stairwells, and large formal dining rooms. Their height and volume compete with cabinetry and sightlines in a kitchen, so we don't recommend tiered fixtures over islands — give them a two-story entry and they'll earn their keep every day.
One safety note before you buy big
The National Electrical Code requires that any fixture over 50 pounds be supported independently of a standard ceiling outlet box (or hung from a box specifically listed and marked for the weight). Every Golden Lighting product page lists the fixture weight — if your dream chandelier is a heavyweight, plan for the right box or blocking during installation, and your electrician will thank you.
Every recommendation above comes from Golden Lighting's design rulebook, which is built on published lighting standards — including the IES/ALA recommended practice for residential lighting (ANSI/IES RP-11-26) and the National Electrical Code — plus the collective judgment of professional lighting designers.
Share:
The Best Lighting for Makeup: Color Temperature, CRI, and Brightness Explained
Kitchen Island Lighting: How Many Pendants, What Size, and Where