Light fixtures can be magnets for dust, spider webs, and airborne particles. Not only are dusty light fixtures gross, Dirty lights can lessen your room’s illumination by 20-30%. Dirt and dust can even lower the lifespan of your fixture’s light bulbs.
Some experts recommend deep cleaning your fixtures bi-annually. This requires taking down the entire fixture. This can be inconvenient and require the help of an extra set of hands.
An alternative to those deep cleaning methods is to regularly dust and wipe down your fixtures. By regularly dusting and wiping-down your light fixtures every few months, you can prevent the need for heavier, deep cleaning routines.
Preparation
Any cleaning project takes time, preparation, and the proper tools – cleaning your light fixtures is no different. Get into the right state of mind and give yourself enough time to clean the fixture thoroughly to avoid missed spots and costly accidents.
Gather the Following Cleaning Tools:
- Extendable Duster
- A Step Stool or Ladder (depending on the hanging height and position of your fixture)
- Microfiber Cloth
- Clean Rag
- 1:1 Mixture of Mild Soap and Water
Now that you have collected your supplies, ensure all the fixtures have been switched off for at least 20 minutes - This way you can handle the bulb and fixture safely while cleaning.
The 5 Best Light Fixture Cleaning Steps
- Place your step stool or ladder below your fixture(s) and unscrew the light bulbs from their sockets.
How To Clean Your Light Bulbs
- Use an extendable duster to capture dust on fixture canopy, rods, arms, and sockets. Dusters that can reach up high are great to use on chandeliers, pendants, and semi-flushes.
- Use a dry microfiber cloth to capture any remaining dust on more detailed areas of the fixture (i.e. thin fixture arms, caps, decorative beads and nuts, etc.).
- Make a 1 to 1 mixture of mild soap and water in a small bowl. Take a clean un-used rag and soak in the mixture. Wring out the cloth until it is damp, not dripping. Use the damp cloth to clean more delicate areas of the fixture (i.e. crystals, glass, beads, etc.).
- Allow fixture(s) to airdry completely, then re-install light bulbs. Turn on lights and voila!
Don't for Cleaning Your Lights
NEVER spray cleaning fluid directly at your fixture
Spray into a clean, unused cloth and test the chemical strength in an inconspicuous area of the fixture. If finish is faded, material stripped, or any other blemishes – do not use product on fixture.
NEVER spray cleaning fluid directly at the bulbs
Spray fluid into a clean, unused cloth. Gently rub the bulb with the damp cloth until clean.
NEVER put shades of any material in a dishwasher or washing machine
Use a dry cloth first to remove dirt. Use a damp cloth for built up grime. Use an at home dry-cleaning product for even tougher stains.

Advanced Cleaning by Fixture Type
Cleaning Fabric, Rattan, and Beaded Fixtures
- Use a vacuum on the lowest power setting or with a stocking fitted over the hose and then gently clean the fixture.
Cleaning Paper Shades
- Use a dry microfiber cloth to wipe away dirt. If the dirt and dust is too thick, you will need to replace the shade completely.
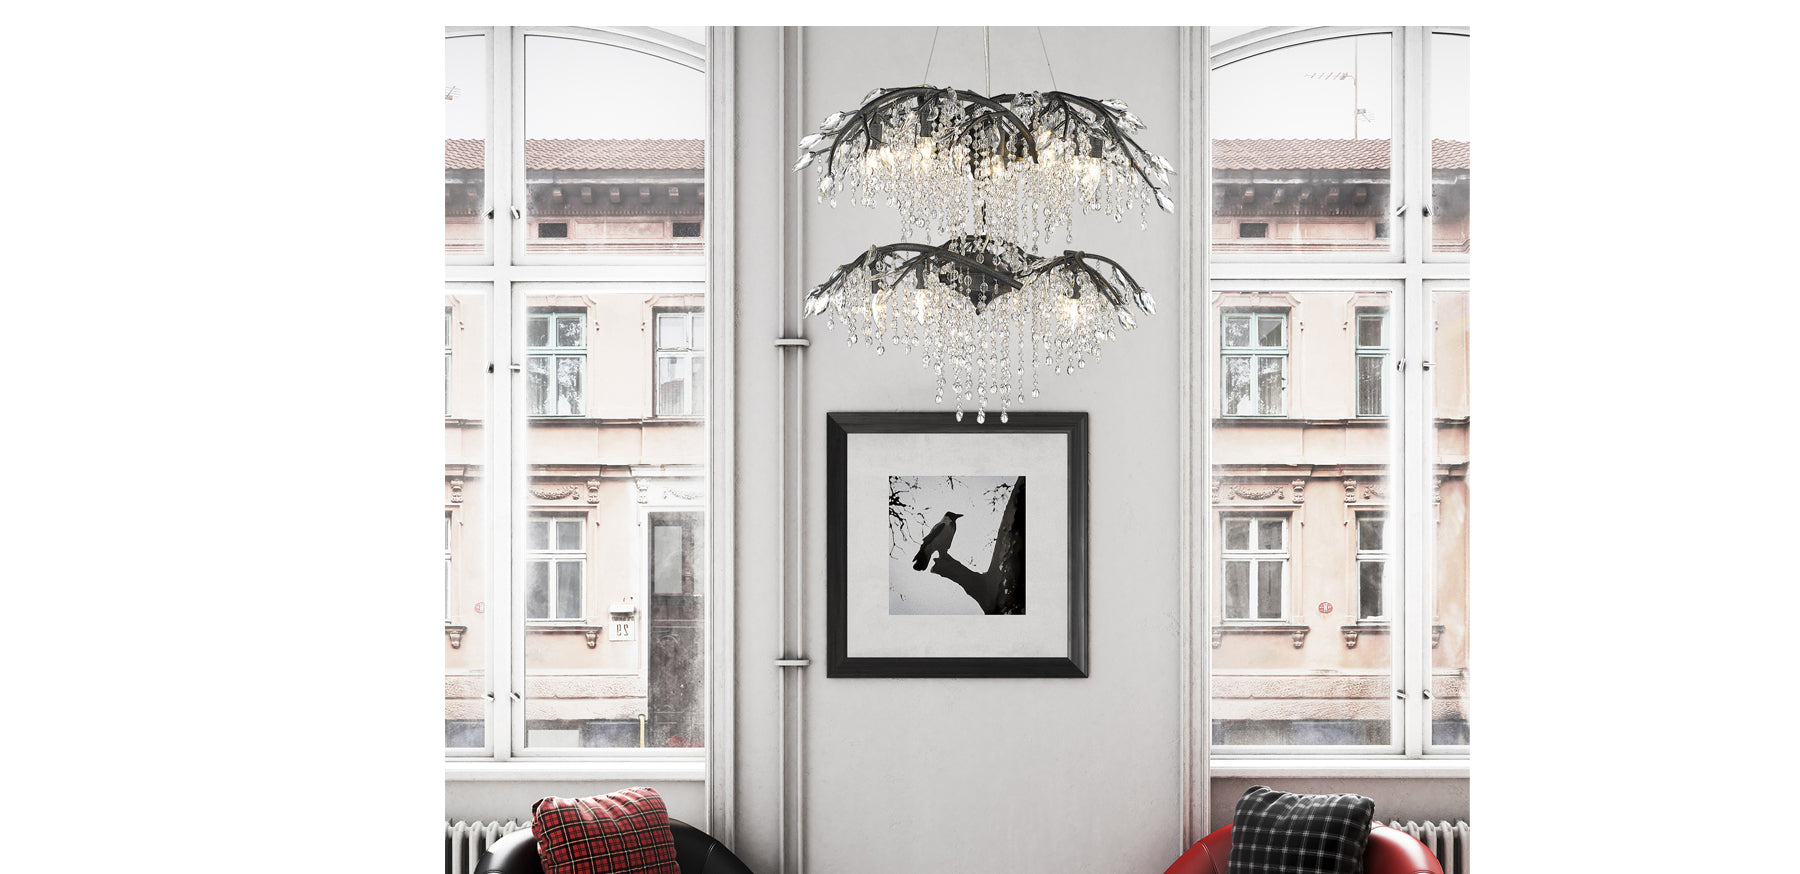
Cleaning Ornate Crystal Chandeliers
- Use a duster to remove the largest build-up of dust. Then take a photo of the current crystal arrangement for easier crystal placement later.
- Remove each crystal and component of the chandelier to clean. Wipe down each piece with a dry microfiber cloth.
- Next place each piece into a bath of warm, soapy water. Remove each piece after a few moments in the water and wipe gently until dry to avoid water spots.


Share:
Wall Lights Take Center Stage
Cane Webbing, Bamboo, & Rattan Artisan Lights